Blog Hop · cards · copics · Lawn Fawn · Perfect Layers Tools

Perfect Paper Crafting and Lawn Fawn Blog Hop…

LawnFawnHop

I’m so excited to welcome you to another blog hop!  The ladies have wonderful posts to share and I’m so happy to be part of the line up!  I LOVE Perfect Layer Tools and pairing them up with Lawn Fawn…well… you’ll see below,  I had fun cuz I LOVE Lawn Fawn too! I made so many cards, I don’t know which one to start with!

_MG_7499-001

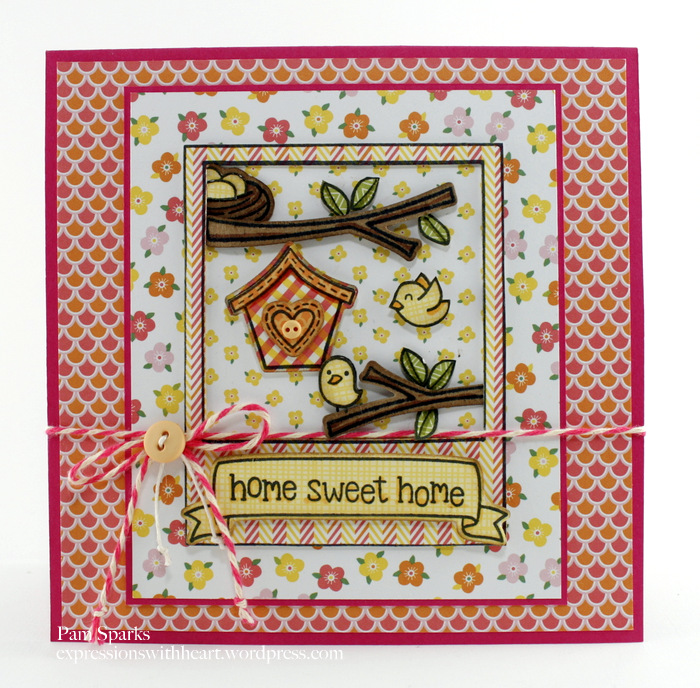
ok – I’ll start with the ‘faux’ polaroid shot! For this card I used the Home Sweet Home stamp set, Home Sweet Home die set, Say Cheese stamp set, Say Cheese die set and the Pink Lemondade 6×6 paper pad.  I used the 1/16th inch Perfect Layers Ruler to mat the floral piece.  Then to mat the floral matted piece to the shell piece,  I used the 1/4th inch and 3/4 inch Perfect Layers Ruler.  I used the 1/8 inch Perfect Layers Ruler to mat behind the shell pattern, which is the card base.  I measure the top with a clear ruler and then cut the three sides with the Perfect Layers Ruler.
_MG_7496

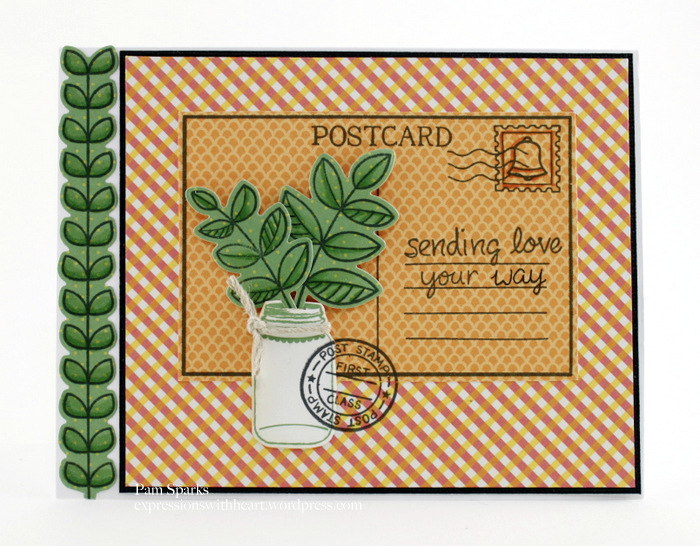
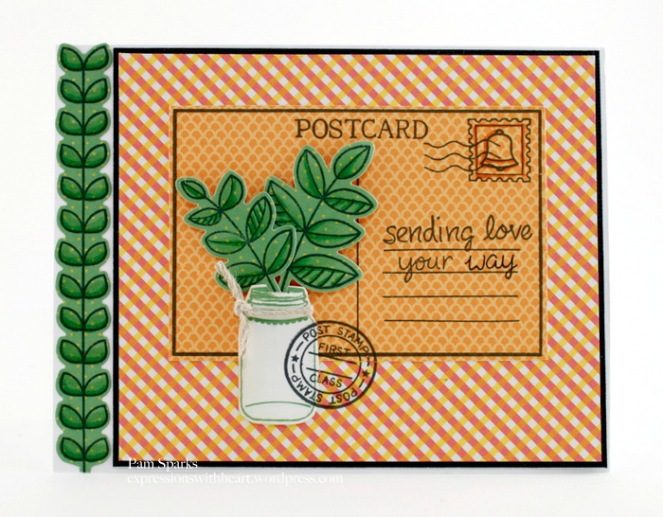
A friend of mine has been making all kinds of postcard cards lately… this card was inspired by Jan!  Thank you Jan!  I started with the You’ve Got Mail stamp set, the jar is cut out of a sheet of the Pink Lemonade 6×6 paper pad, the greenery is from the Blissful Botanicals stamp set  and Blissful Botanicals die set.  I used the 1/16th inch Perfect Layers Ruler to mat behind the pink and orange piece.  Copic Sketch markers to add some shading here and there.  I have to say the Lawn Fawn dies cut the stamped images so easily!  I didn’t use tape at all!
_MG_7483

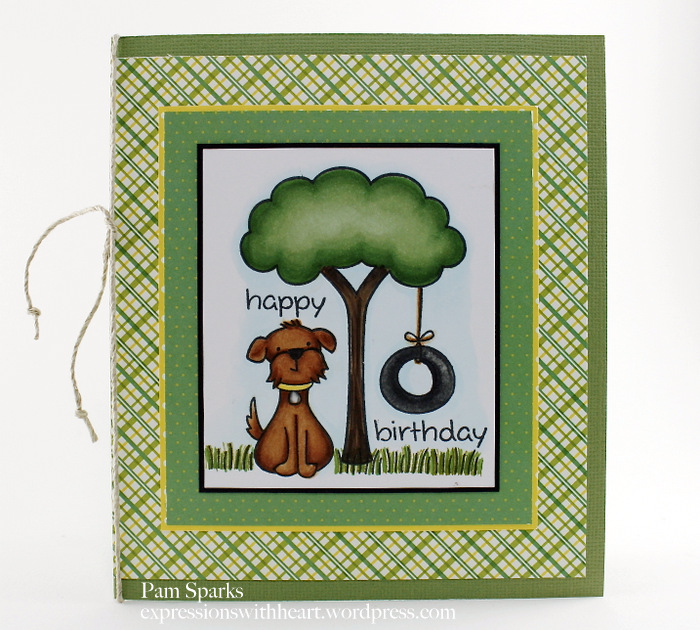
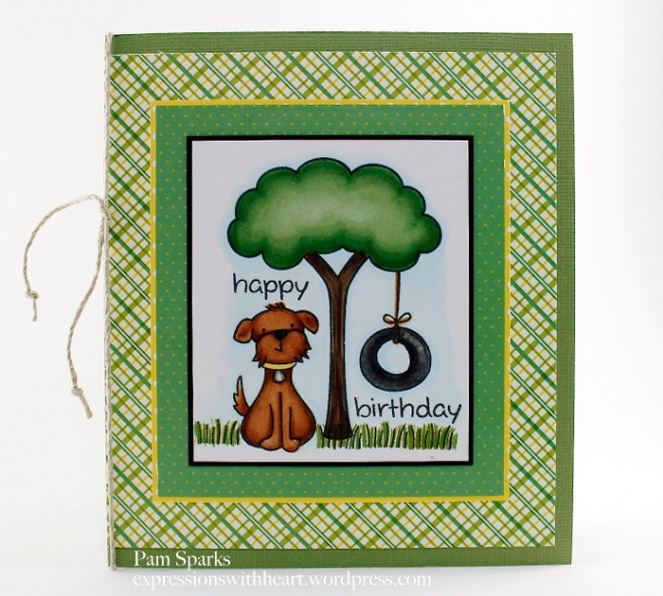
I just had to color a few images!  Love this cute little pooch and tree! So fun to color!  I used Critters in the Burbs stamp set and the Pink Lemonade 6×6 paper pad.   The black layer is from the 1/16th inch Perfect Layers Ruler,  the next green layer is with the 3/8th inch Perfect Layers Ruler,  the yellow is 1/16th,  the plaid is 1/2 and the base is 1/4th inch.  I used the Lawn Fawn Trimmings cord on the fold.
_MG_7463

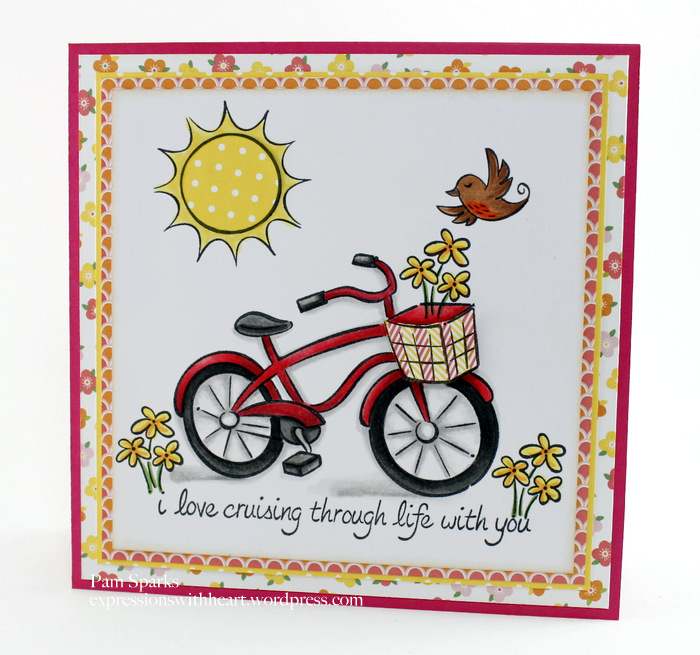
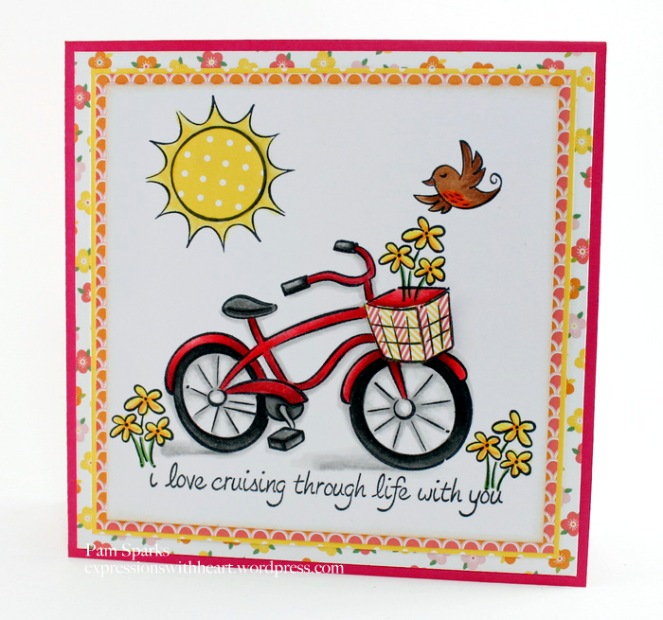
This card makes me smile! I’ve always enjoyed riding my bike.  I used the Cruising Through Life stamp set, Sunny Skies stamp set and the Pink Lemonade 6×6 paper pad.   For the layers I started with the Perfect Layers Ruler  1/8th inch, 1/16th inch, 3/16th inch and last for the card base is 1/8th inch.  I stamped with Memento Tuxedo Black ink and colored with Copic Sketch Markers.  The circle on the sun is paper pieces with the yellow dot from the paper pad.
_MG_7485-001

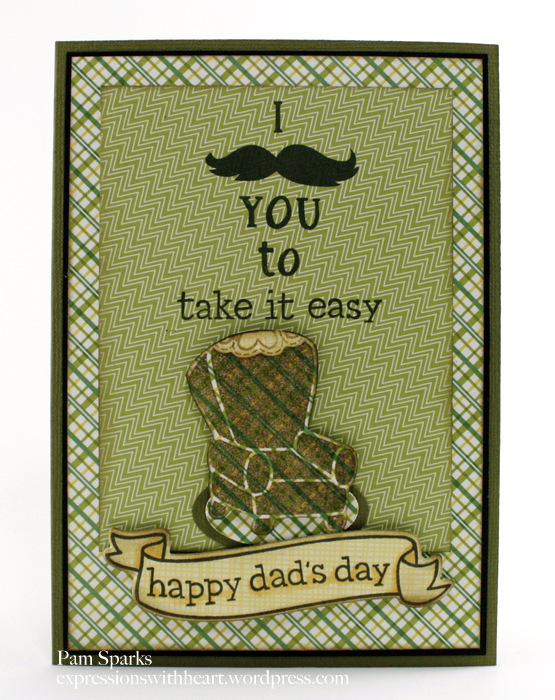
This is kind of a silly card but I had fun with it! Hope it brings a smile!   The Dad’s Day stamp set,  the Bannerific stamp set, the Bannerific die set, the Pink Lemonade 6×6 paper pad and Riley’s ABC’s for the words, I, You and to.  The arm chair is a solid stamp, inked with Walnut Stain Distress ink and stamped on the plaid from the paper pad.  I made the little doily on the back of the arm chair with the stitched heart stamp from the Home Sweet Home stamp set.  I stamped it three times and then cut it to fit.  I used two Stampin Up oval punches for the rug under the arm chair. For the layers I started with the Perfect Layers Ruler 5/16th for the top and two sides and 1 inch at the bottom. Then the black layer is the 1/16th inch and the card base is 1/8th inch.

Below is the list for the HOP… visit the blogs and comment for a chance to WIN!  

Perfect Paper Crafting is giving away a $50 gift certificate to their online store…
Lawn Fawn is giving away a stamp set, a 6×6 paper pad and a set of Perfect Layers Rulers!  

Perfect Paper Crafting/Laura Lynn

Lawn Fawn

Eva

Pam – that’s me

Wendy

Roxie

Jenny

Thanks so much for your visit to my blog today!  I appreciate it and enjoy sharing what I’ve been up to!

Linking my cards to Simon Says Stamp Challenge blog – Anything Goes!

Shopping links…

cards · copics · Doohickey's Dies · Magnolia · Martha Stewart · Perfect Layers Tools · punches · rubber stamps · Shabby Chic · Spring · Tilda's Town

Magnolia, Tilda’s Town Challenge…

p

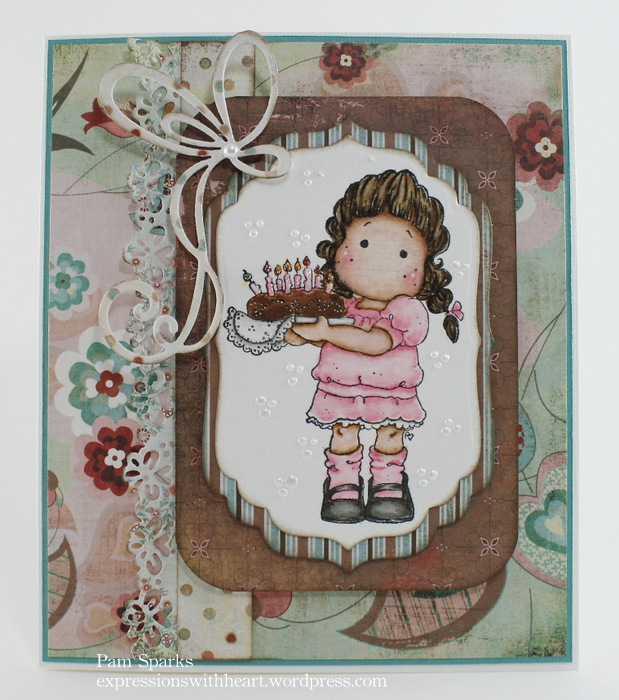
It’s a little bit fussy  and isn’t Tilda fancy!  She makes me smile on this fine Spring day!  Time for a new challenge at Tilda’s Town Challenges!  You get to pick… Fussy and Fancy OR Understated and Elegant!  Take the challenge… Understated is always easier for me so I took the challenge and went for F&F this time! hehe

I’m pretty happy with the card!  Well… I’m wondering about the ribbon but NO, don’t tell me if you don’t like it! I’ve already pulled it apart once! lol

Click over to Tilda’s Town ChallengesHERE and enjoy the inspiration from the Design Team and enter the weekly challenge!  We’d love to have you!  Each week there is a random winner, chosen by Inlinkz, for a $10 gift certificate to Tilda’s Town.com!

logo1

Tilda’s Town is a most magical shop specializing in Magnolia Stamps. Over 1,100 stamps in stock at all times. Tilda’s Town offers FREE worldwide shipping on every order, every day. You can also save up to an additional 20% on your purchase by using one of the famous coupon codes. Shop at Tilda’s Town.com and live the magic.

Great NEWS!  The newest ‘Once Upon A Time‘ collection is in the store now!  So CUTE!

For my card today, I used Tilda in Summer Rain, in the store HERE.

_MG_7154 - Version 2-001

I love this Tilda… so cute!  I stamped her on Copic x-press it card with Memento Tuxedo Black ink and colored her with Copic Sketch markers.

Skin – E000, 00, 21 – Cheeks diluted R20 (with R00)
Hair – E50, YR31, 21, 23, E37
Dress/boots/umbrella – R20, 21, 22
Water/shadow – B0000, 000, 00

I used my Perfect Layers Tools to make the mats for the layers,  Martha Stewart border punches – birds on a line and flourish. Scroll down a couple posts for the Perfect Paper Crafts and Faber Castell blog hop…another Tilda card and you can still comment for a chance to win through today!!!

Ribbon is from May Arts… other links below… THANKS for looking!  I love hearing from you/reading your comments!  They always make my day and are very much appreciated!  Smiles and laughs… thank you!

Challenges…
Live & Love Crafts Challenges – Bingo, Pink, Two designer papers, pearls
Lovely hÄnglar or Magnolia – Butterflies
You, Me and Magnolia – Spring
Magnolia-licious – Spring
Papertake Weekly – Anything Goes

Shopping links…

cards · copics · Memory Box · Paper Smooches · Perfect Layers Tools · rubber stamps · Spring

Paper Smooches, Memory Box and Perfect Layers Tools News…

_MG_7000

With ME!

That’s what I need to put on the inside! : ) and Happy Spring!  Super cute Paper Smooches stamps and dies.  Graffiti Alphabet stamps and Alphawhimsy Alphabet dies… the stamps don’t quite work perfectly with the dies but with a little ‘adjusting’  I used them together for ‘Tulips’!  I stamped on Hammermill 80# Color Copy Cover card-stock with Memento Tuxedo Black ink and colored with Copic Sketch Markers.   I stamped the tulip letters in Tumbled Glass Distress ink.

I store my Paper Smooches stamps in the sheet protectors I linked to below.  They are 8.5 x 11, fit in a D ring binder and hold three sets on each page (I do have to trim a little of the acetate so they fit, big scissors, whack it off! lol)… so easy to flip through for inspiration!

Sky and Grass are Distress inks… Tumbled Glass and Peeled Paint, applied with the ink blending tool.

Black mat for the main image cut with the Perfect Layers Tools 1/8 inch ruler!  Awesome every time!  Link below or in the sidebar.

❤ ❤ ❤   Happy News!  I’m part of the new Perfect Layers Tools design team!
Every month there will be a couple blog hops with the PLT’s DT and another company… we’re starting this coming Monday, April 1st, no foolin’  with a hop.  Lots of fun and prizes too! woohoo!  Be sure to click ‘follow ‘ in the sidebar so you’ll get my email update right at 8 a.m. when the hop starts!  ❤ ❤ ❤

_MG_7010-001

❤ ❤ ❤ ❤ ❤

I have a Memory Box card to share today too!   It shows the mats/layers cut with the Perfect Layer’s Tools also. I used the 1/16th inch and 1/8th inch rulers.

_MG_6981

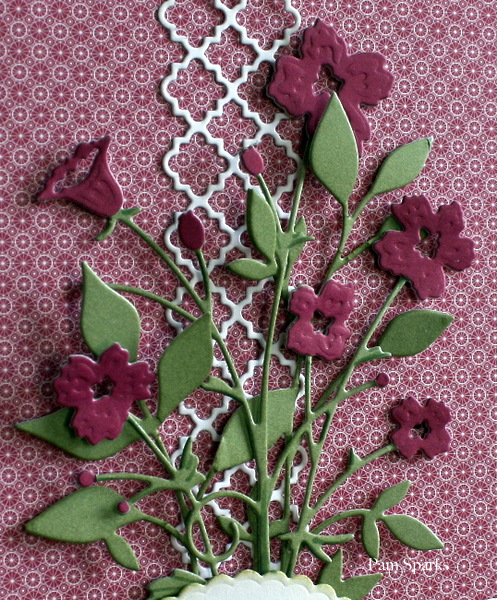
Lovely Bella Bouquet die…delicate lines and embossed flowers…an awesome die!  I paired it with Fresh Foliage then added one of the Pastry dies and the Tessatina Border.  The text ‘flowers’ is part of a new Memory Box stamp, inked with Peeled Paint Distress ink!  Sneak Peak! : )

_MG_6971 - Version 2

How about a super close up picture!  Bella Bouquet is cut out of meadow and raspberry Memory Box card-stock.  I cut the raspberry flowers off and glued them with Tombow Mono Multi glue to the meadow cut.  I edged the leaves, stems and label with Peeled Paint Distress ink and the ink blending tool.

I use the Memory Box metal plate to cut the dies that have detail and small lines, like stems. Here’s a three minute You Tube by Dave (MB owner) on using the metal adaptor plate. I’m really glad I purchased the metal plate…cuts the fine detail dies great!

Thanks for stopping by!  See you Monday for the hop!  Holler if you have any questions!

Products I used…

cards · copics · Doohickey's Dies · Magnolia · Masking · Perfect Layers Tools · rubber stamps · Spring · Tilda's Town

Magnolia, Tilda’s Town… Think Spring!

_MG_6925-002

I created a cute little bunny scene for you today!  It’s time for this week’s Tilda’s Town Challenges post…  THINK SPRING!  It’s coming, it really is!

Click over to Tilda’s Town Challenges, HERE and enjoy the inspiration from the Design Team and enter the weekly challenge!  We’d love to have you!  Each week there is a random winner, chosen by Inlinkz, for a $10 gift certificate to Tilda’s Town.com!

logo1

Tilda’s Town is a most magical shop specializing in Magnolia Stamps. Over 1,100 stamps in stock at all times. Tilda’s Town offers FREE worldwide shipping on every order, every day. You can also save up to an additional 20% on your purchase by using one of the famous coupon codes. Shop at Tilda’s Town.com and live the magic.

Magnolia stamps are 30% off and DooHickeys dies are 20% off right now at Tilda’s Town!  An awesome sale!

I stamped Little Bunny Tilda first on Copic X-press it card-stock with Memento Tuxedo Black ink,  masked her with Eclipse masking paper, then stamped the Spring Fence  positioning it with the stamp a ma jig, then masked the fence with Eclipse masking paper  and THEN stamped the Bunny Background over both masked images using the stamp a ma jig to postition it where I wanted it.

whew! stamping fun!  Do you know how to mask?  use the stamp a ma jig?  I have a few tutorials HERE,  HERE and HERE.

I used my Perfect Paper Layers tools to cut the mats for the image and for the pattern papers.  Link below or in the side bar!  LOVE these tools!

Copics…
skin – E0000, 000, 00, 21, 11 – cheeks diluted R20 (diluted with R00)
hair – E27
bunny and bunny body – E40, 41, 42, 43
pink – R81
green – G40, 43, YG91
tree – E35, 37, 39, 27, 29
sky – BG0000, 000
fence – E43, 44, 47, 49
egg – BG53, 57
butterfly  and daffodils – YR 20, 21, 23, 24

_MG_6923

Thanks for stopping by today!  I love having you over and appreciate your comments and friendship!

Here’s some Shopping links…