cards · Christmas · Die Piecing · Flowers · Hot Foiling · Spellbinders dies · Winter

Spellbinders October Large Die of the Month Club Card…

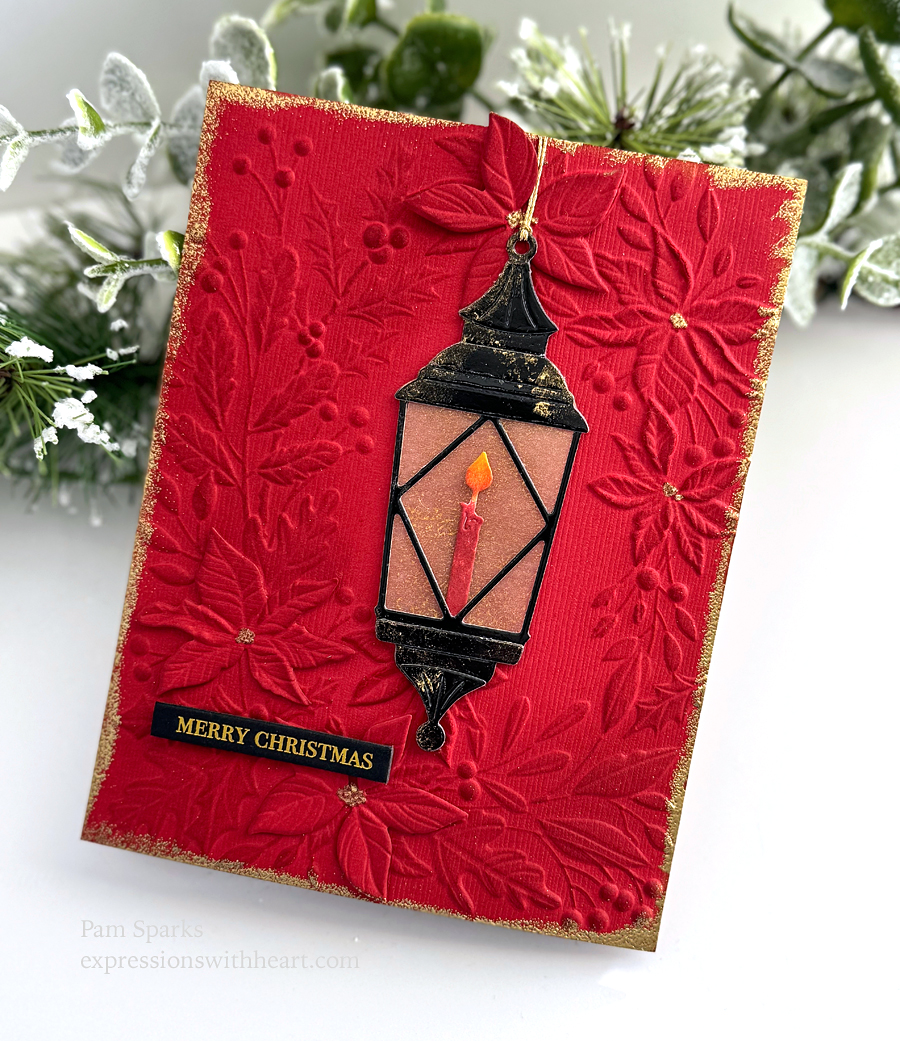
Hi everyone!  I had some fun die cutting florals and gold and getting a little bit vintage with this card.

Have you checked out this month’s club offering on the Spellbinders store website HERE?  Awesome stuff again! We’ve come a long way from punches!  hoho! (I still have all my punches, can’t bring myself to part with them.)

I took the club dies a little different direction than what it was designed for but for the most part it’s still intact!

I die cut the house section twice but trimmed it down to where the leaves stop on the sides.  I die cut it in white and inked it with a couple green inks but you could easy die cut it in green and be fine.  Everything that you don’t want to be green is covered by the time you’re finished.

Next I die cut the florals twice… it looks like a lot but it’s surprising that it isn’t!  It goes fast because they’re an easy size to handle and you can see exactly where everything goes!  YAY!

It would’ve been really pretty without being on a black cardbase but I couldn’t decide if it’d be ok or not in the end so I stuck it on a black 5 ½ inch square cardbase.

I really, really like it.  Wish I could show you in person!

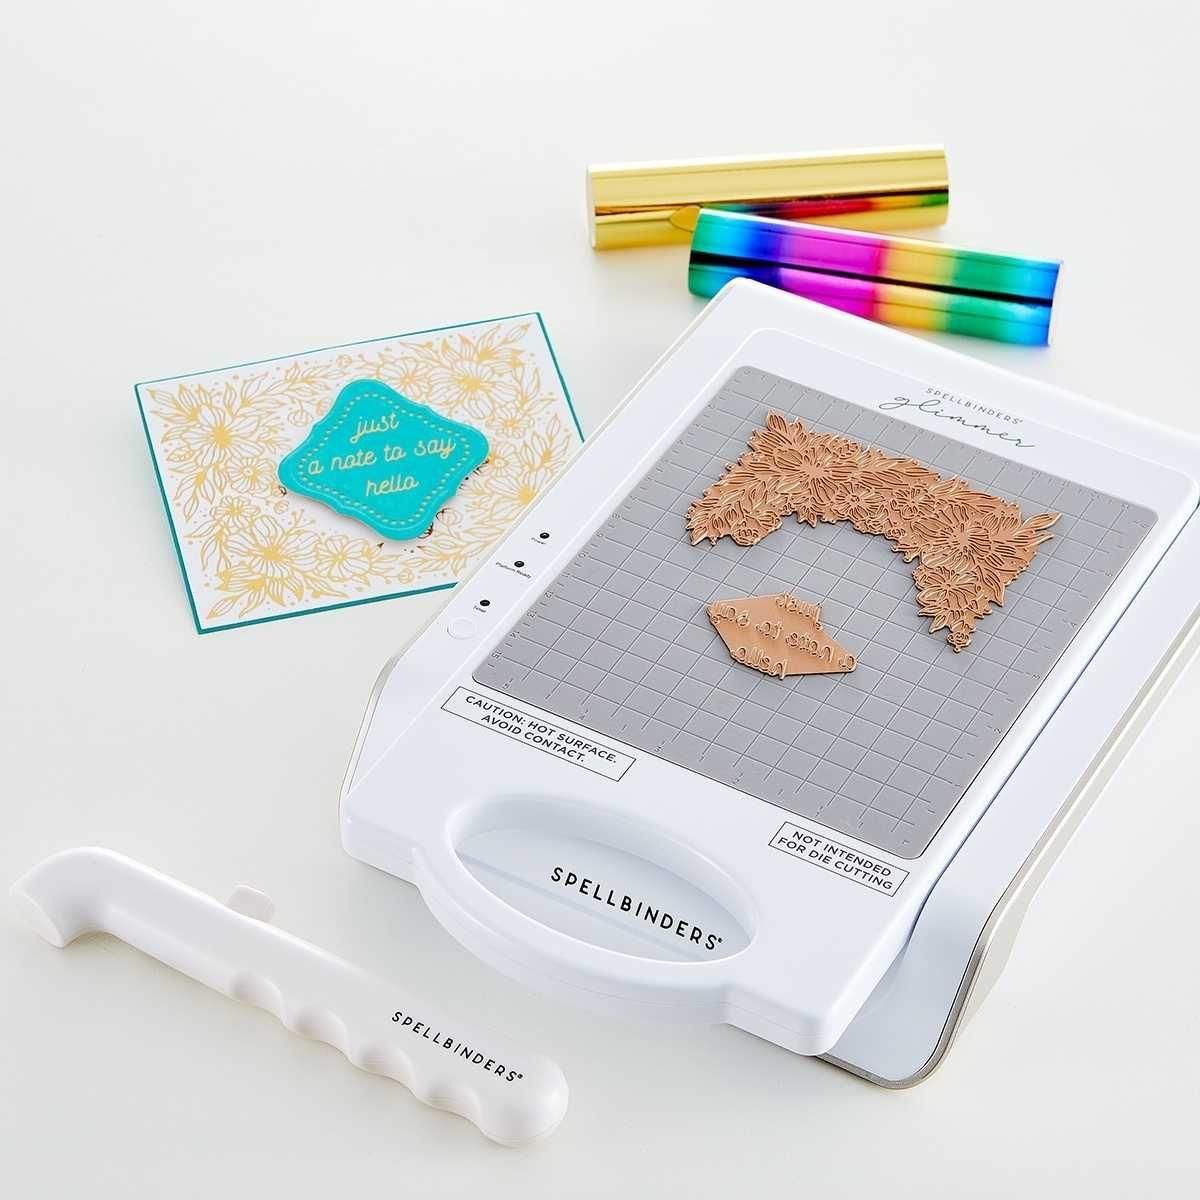
Die cut the words.  Hot foil the panel…I didn’t do a great job foiling this piece.  The cardstock was textured and foil works better on smooth.  I didn’t do it over though because I wanted it to look vintage!

I cut a piece of white cardstock 4 ⅛ x 3 inches for the center and aged it with Gathered Twigs Distress ink and a blending brush.  Then I glued the red foiled Christmas Greetings panel flat to the distressed piece and glued the panel to the floral pieces.  You can see by my photos that I was able to get the corners under some of the floral parts.

When you’re gluing, leave your edges without glue and then you can get the panel under the berries, poinsettia and roses.  Not hard at all!

So much fun!  This will be a fun card to leave out on a mantel or on display some place in your home for the season!

Linking my card to some challenges…

Triple B – Blooms

Peace on Earth Christmas – anything goes Christmas

The Holly and the Ivy Christmas – #150 Anything Christmas


Thanks so much for stopping by again!  Thank you for helping me out with comments too!  Let me know if you have any questions!

ttul!

Linking to the products I used for this card below!  Have fun!

Spellbinders Large Die of the Month…
[ EXP ]
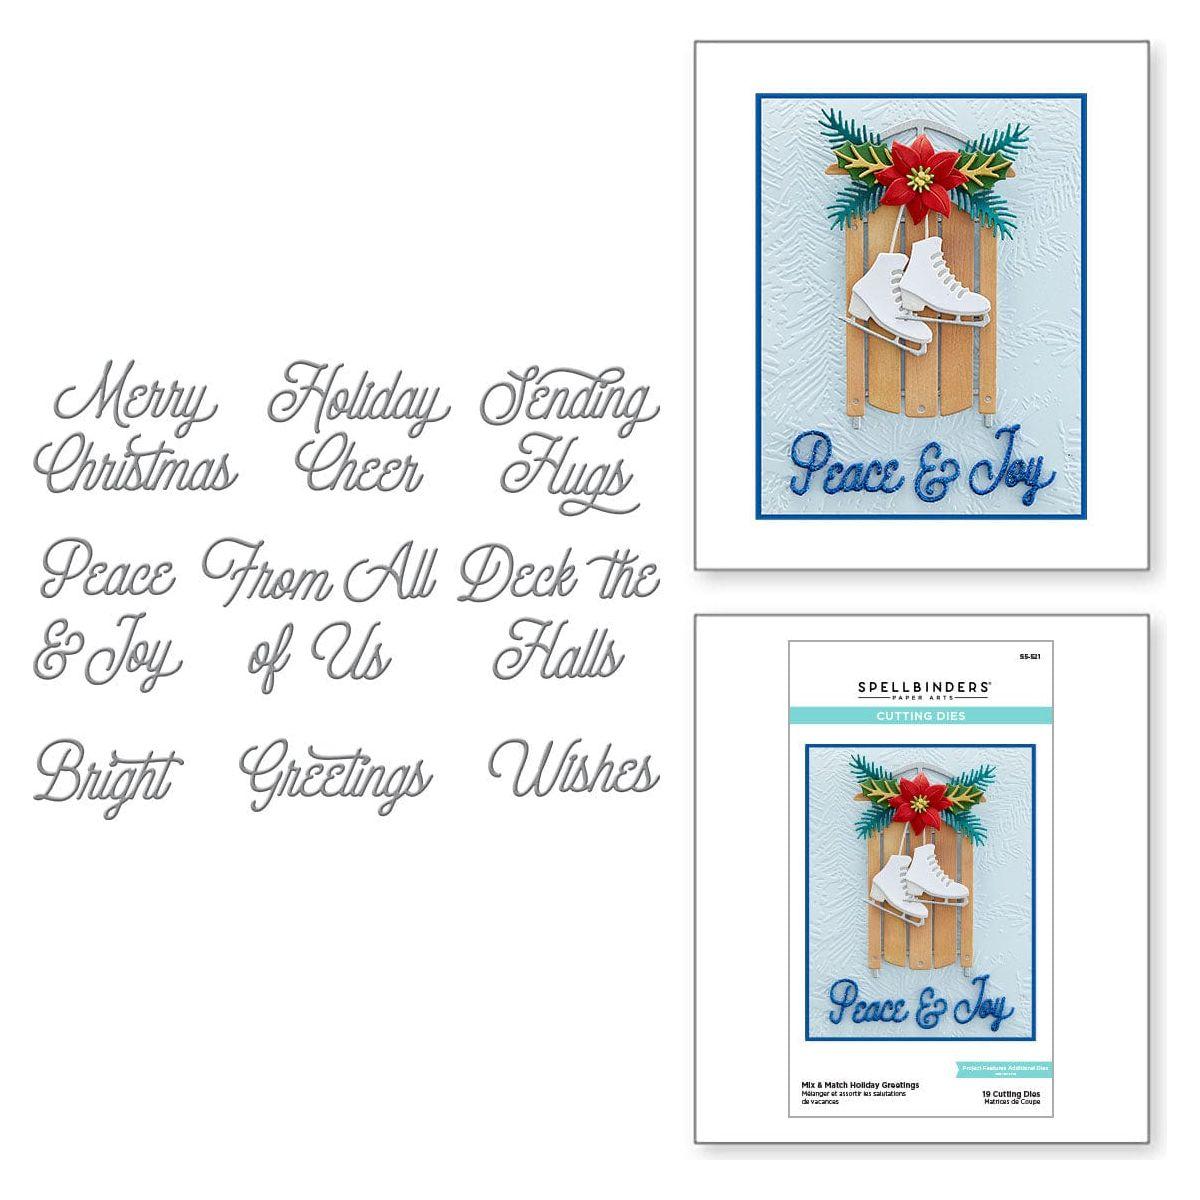
Mix & Match Holiday Greetings |…
[ SPL ]
Essential Duo Lines Glimmer…
[ SPL ]
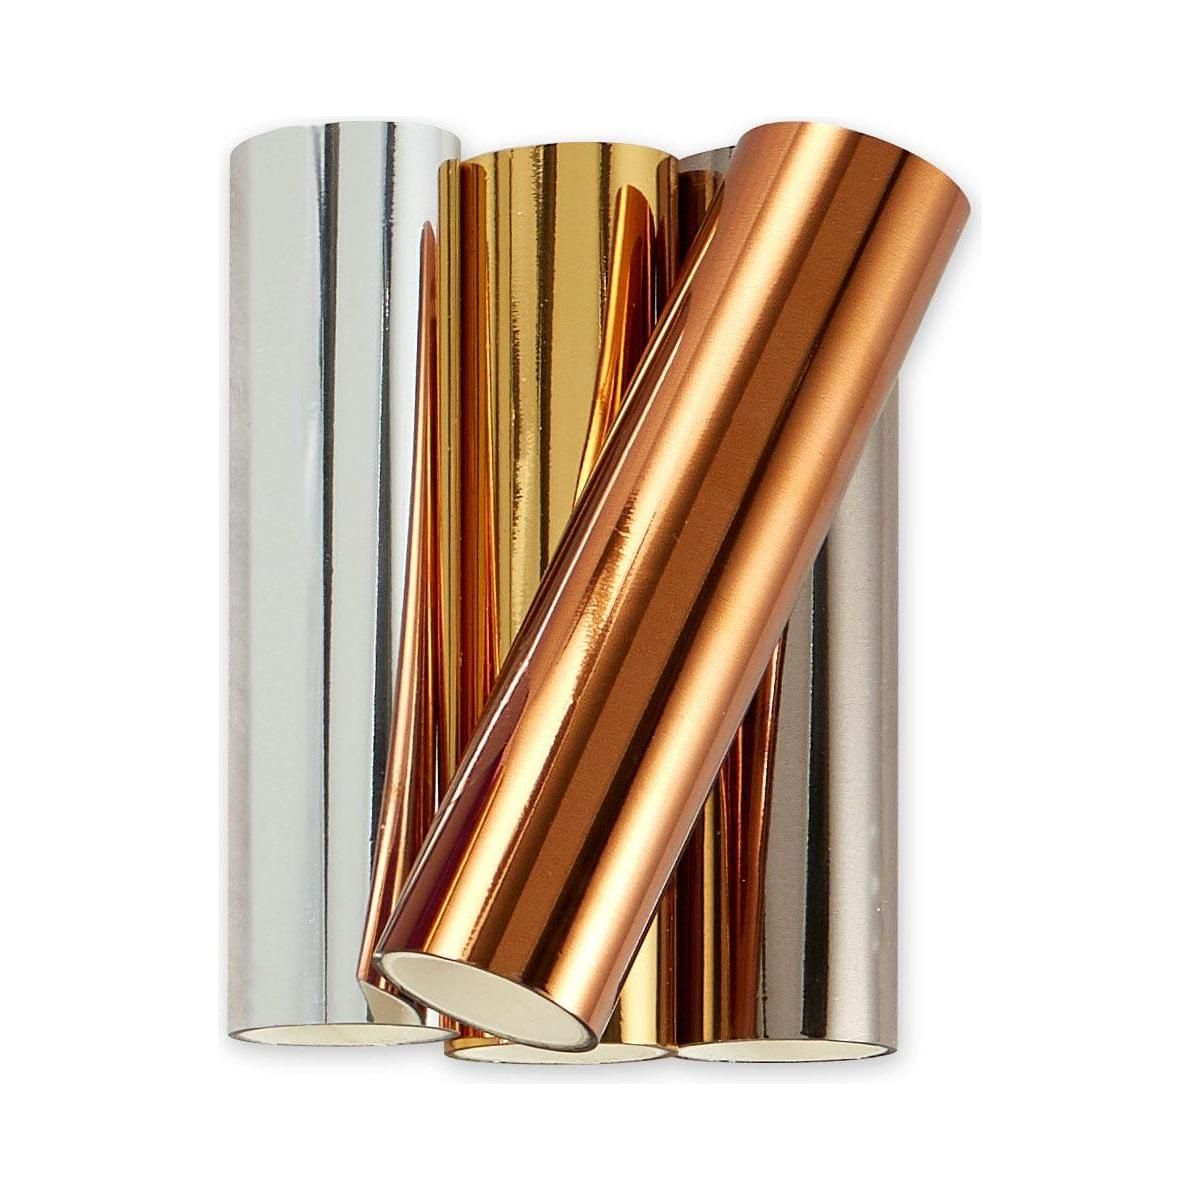
Glimmer Hot Foil Roll – Gold -…
[ SPL | SBC | SSS ]
Spellbinders – Glimmer Hot Foil…
[ SBC | SPL ]
Bazzill FOIL Cardstock – matte and shiny
[ STR ]
Ranger Ink Tim Holtz Gathered Twigs…
[ SBC | SSS ]
Blending Brushes – 3 Pack |…
[ SPL ]
Waffle Flower Crafts – Blending…
[ SBC | SSS ]
Scrapbook Adhesives Crafty Foam Tape…
[ STR ]
Tombow Mono Multi Liquid Glue
[ STR | SSS | SBC ]
Bearly Art Mini 2 fl oz Precision…
[ SPL | SBC | SSS ]
Teal Topaz Color Essentials Cardstock…
[ SPL ]
Lagoon Color Essentials Cardstock…
[ SPL ]
Onyx Color Essentials Cardstock 8.5″…
[ SPL ]
Tiny Pearl Embellishments – flat…
[ STR ]
Uni-Ball Pen Signo Gel GOLD 1.0mm…
[ SSS ]
cards · Christmas · Die Piecing · Memory Box · Winter

Memory Box Woodgrain Bird House, Layered Hummingbird, Happy Holidays Streamlined Script Card…

Hi everyone! Have you seen the new Memory Box release?  Gorgeous new dies, new stamps and two coordinating 6×6 paper pads!

Today I’m die cutting and gluing…inspired by the new Memory Box Look Book HERE.  Tombow mono multi glue and a little of the super thin mounting tape I love behind the house and the bird is all.  It’ll mail easily for one stamp!

I wasn’t sure where I was going with this paper when I picked it but I kept going! lol  I added some coordinating shades of Memory Box cardstock from the Fresh Aqua 6×6 cardstock pad.

I ended up pretty monochromatic! I think that’s the right word!

I had fun trying some different photo techniques…this is a strand of white wire Christmas lights from one of our daughters wedding.  Before daylight lights though.  I need to get a strand with daylight bulbs and try it!  I love the bokeh look.

I like trying to capture the shine from the light coming in from our 2nd floor hallway door, it goes out to a widow’s walk.

I made this an A6 size card, 4.5 x 6 inches.

Linking my card to some challenges…

Peace on Earth Christmas #50 – anything goes Christmas

Christmas Craft Creations October – monochromatic

Happy Little Stampers October  – anything goes Christmas


Thank you so much for stopping by!  Holler if you have any questions!  I love hearing from you.

I’m trying to figure out how to make the comment option work like it used to.  If you have time will you say Hi!  and see if I made any progress yesterday?  I hate it when they change stuff that is working well! ugh. I think it needs to remember you once you’ve commented and been approved.  Thank you!!!

ttul!

Here’s what I used to make this card!

Memory Box – 94755 Layered…
[ STR | SSS ]
Memory Box – 94742 Woodgrain Bird…
[ STR | SSS ]
Memory Box – 94745 Leaf Bunches craft…
[ STR | SSS ]
Memory Box – 94757 Classic Pine…
[ STR | SSS ]
Memory Box – 94758 Happy Holidays…
[ STR | SSS ]
Memory Box – 94672 A2 Rectangle…
[ STR | SSS ]
Memory Box – PP1024 Poinsettia…
[ STR | SSS ]
Memory Box – PP1023 Poinsettia Plaid…
[ STR | SSS ]
Scrapbook Adhesives Crafty Foam Tape…
[ STR ]
Tombow Mono Multi Liquid Glue
[ STR | SSS | SBC ]
Hammermill WHITE 100 LB SMOOTH…
[ SSS ]
Sizzix Big Shot Die Cutting Machine…
[ SBC ]

cards · Christmas · Die Piecing · Ornament · Spellbinders dies · Tags · Winter

Spellbinders Santa’s Festive Circle Crew and Festive Ornaments Card…

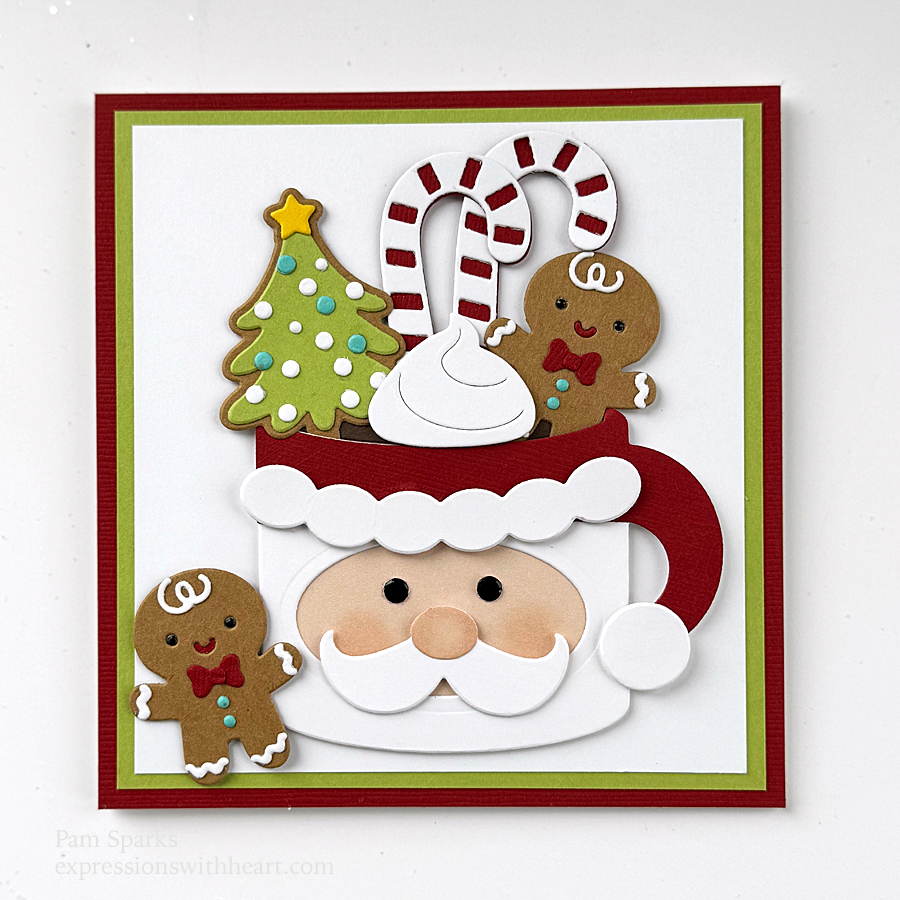
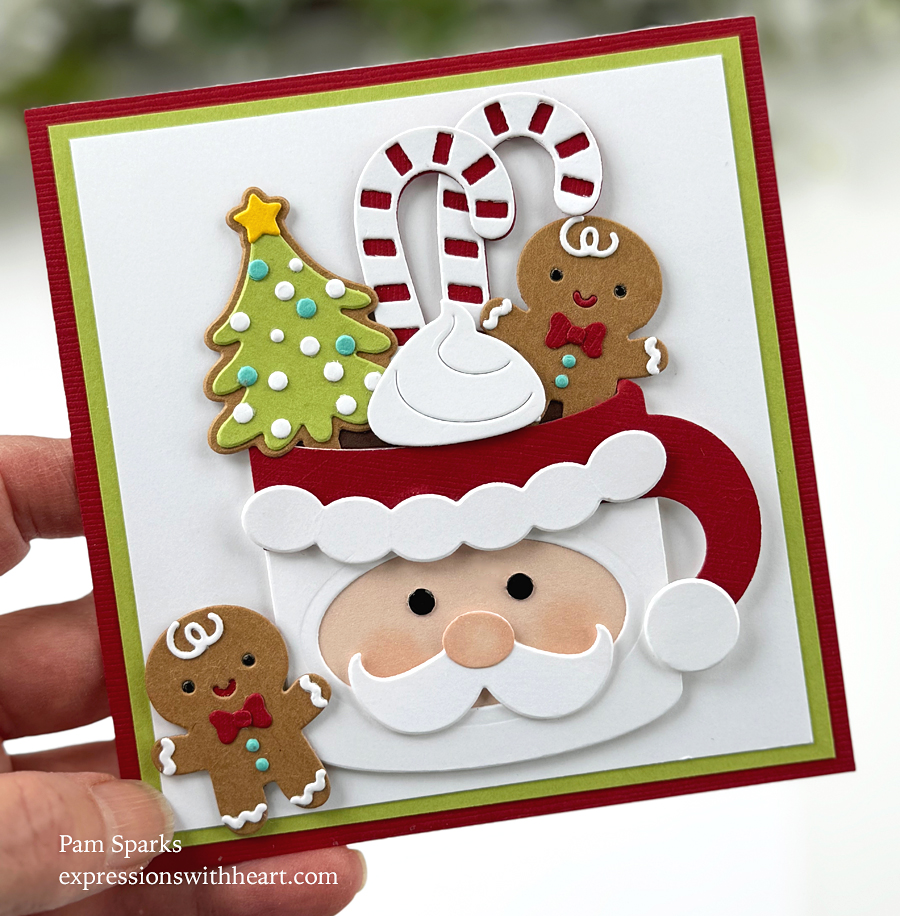
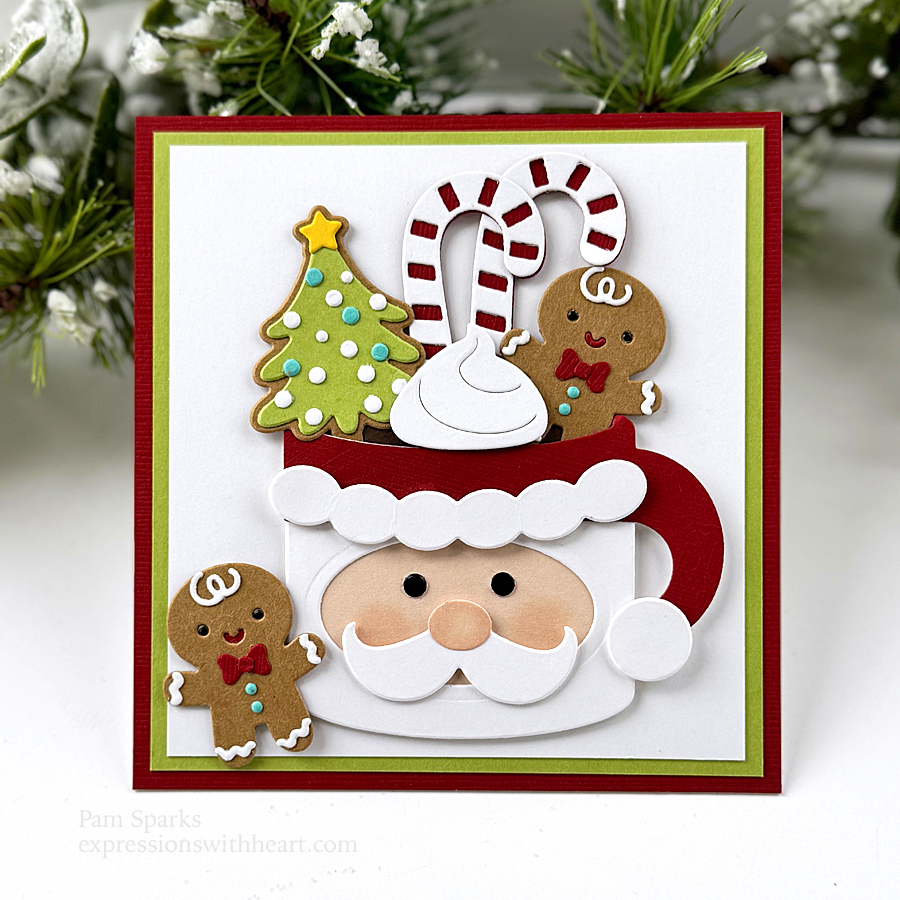
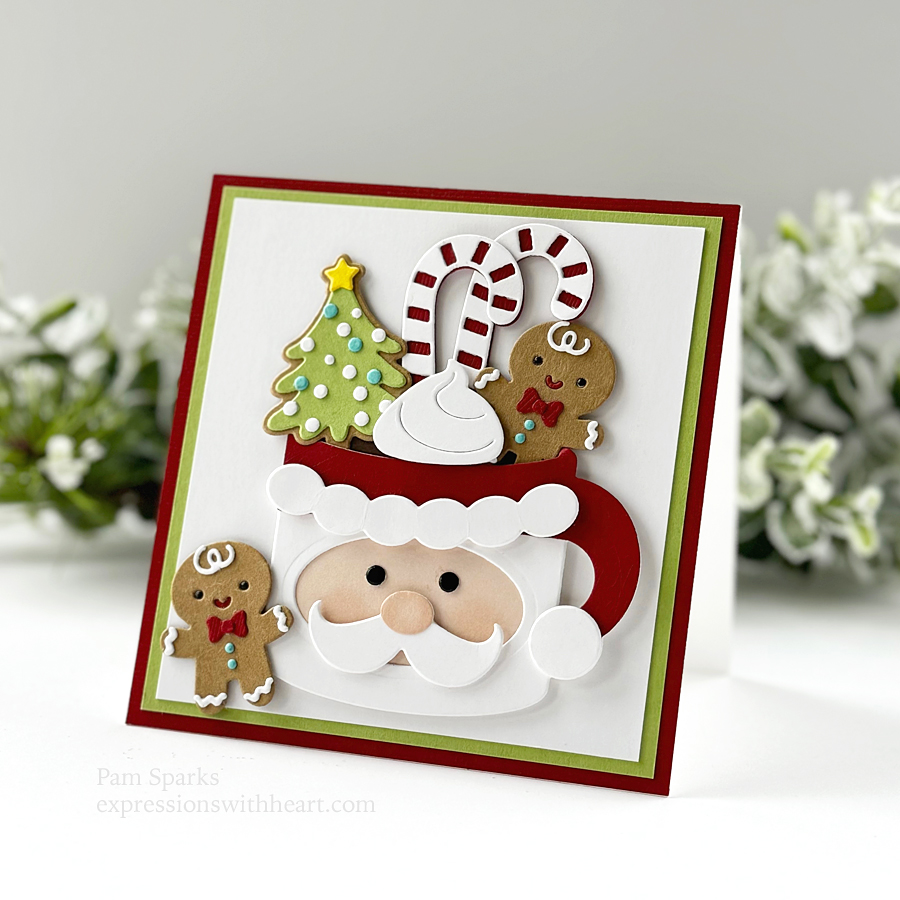
Hi everyone!  Cute Christmas Santa coming your way!  I fell in love with this cute set…still more to make with the sets in the collection!

I loved the card Spellbinders posted so much I copied it!  Added some holly, a poinsettia, jingle bells and changed the sentiment.

I loved the idea of bringing in the jingle bell concept in the sentiment too.  So I used the Jingle All the Way from the ‘Make it Merry Sentiments’ banner set… Love it!

A little hot foiling around the card panel, some inking with Peacock Feathers Distress ink and splatters.

I mounted the ornaments with a little of my favorite thin mounting tape through the center is all so I could stick greenery in easy.

Turned out fun!  I love dies and especially this time of year!  I used the pine branches from a couple sets,  I’ll link everything below. (The set with the poinsettia is no more so I’ll link up another set that I think would work too)  I used Spellbinder sets I already had to embellish the ornament shapes.  Check your stash!

Thanks so much for stopping by!  Holler if you have any questions!  This is an A2 size card.

Here’s links to what I used to make this cute Santa!  I should say, it all went together easy!

Santa’s Festive Circle Crew Etched…
[ SPL | SSS | SBC ]
Festive Ornaments Etched Dies from…
[ SPL | SSS | SBC ]
Merry Mug & Circle Delights Bundle by…
[ SPL ]
Spellbinders – Glimmer Hot Foil -…
[ SBC | SPL ]
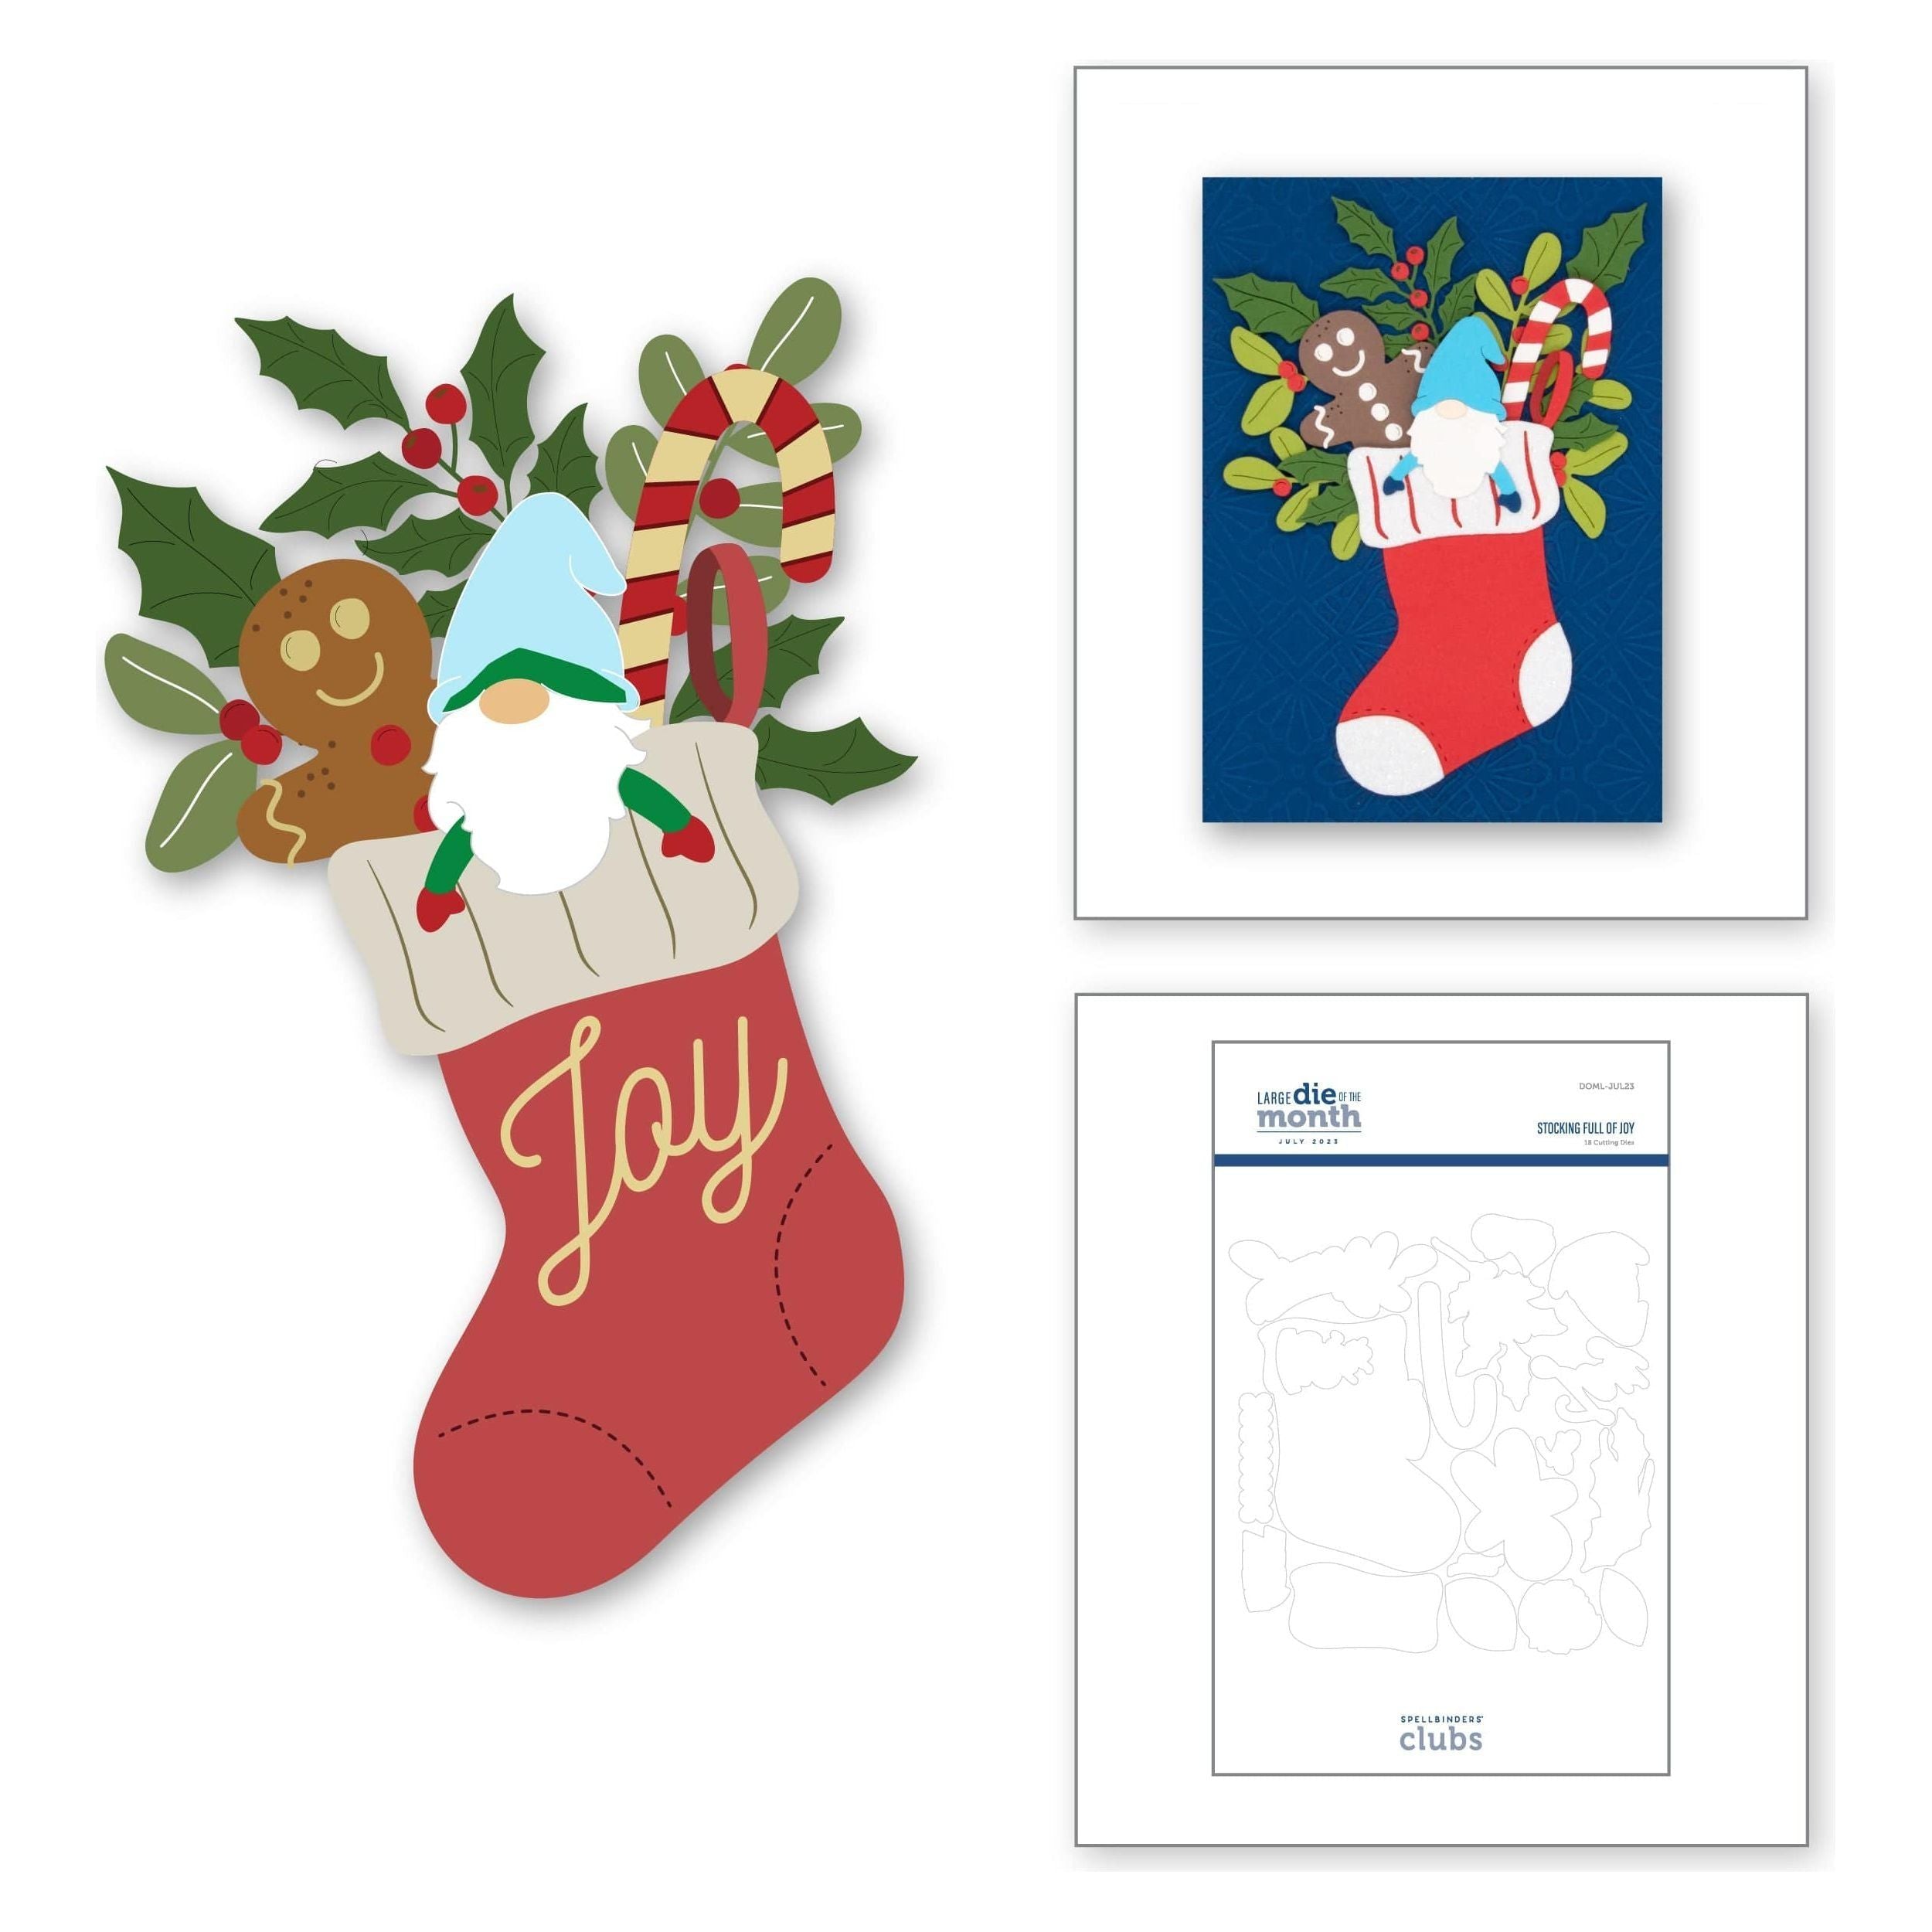
Stocking Full of Joy – Large Die of…
[ SPL ]
Santa’s Sippin’ Sayings Clear Stamp…
[ SPL | SSS ]
Make It Merry Sentiments Etched Dies…
[ SPL | SSS | SBC ]
Parcel & Post Christmas Decorations |…
[ SPL | SSS | SBC ]
Winter Welcome Sled | Etched Dies |…
[ SPL | SSS | SBC ]
Neenah Cardstock Classic Crest Ultra…
[ SSS ]
Memory Box – SH44004 Black Glossy…
[ STR | SSS ]
Scrapbook Adhesives Crafty Foam Tape…
[ STR ]
Tombow Mono Multi Liquid Glue
[ STR | SSS | SBC ]
Bearly Art Mini 2 fl oz Precision…
[ SPL ]
New & Improved Platinum SIX Machine…
[ SPL | SSS ]
Tim Holtz Distress Ink Pad PEACOCK…
[ SSS | SBC ]
Blending Brushes – 3 Pack |…
[ SPL | SSS | SBC ]
Glimmer Hot Foil Roll – Gold -…
[ SPL | SBC | SSS ]
Spellbinders – Glimmer Hot Foil…
[ SBC | SPL | SSS ]

cards · Christmas · copics · Die Piecing · Spellbinders dies · Winter

Big Jolly Santa Small Die of the Month from Spellbinders…

Hi everyone!  I tried my hand at scene making again!  Big Jolly Santa needed a vehicle! A modern day 4 wheel drive! lol Speedy delivery!

Here’s my take on Spellbinders Small Die of the Month club for October.

Learn about Spellbinders Clubs HERE

The pick up is still available! I’ll link it at the bottom of my post.

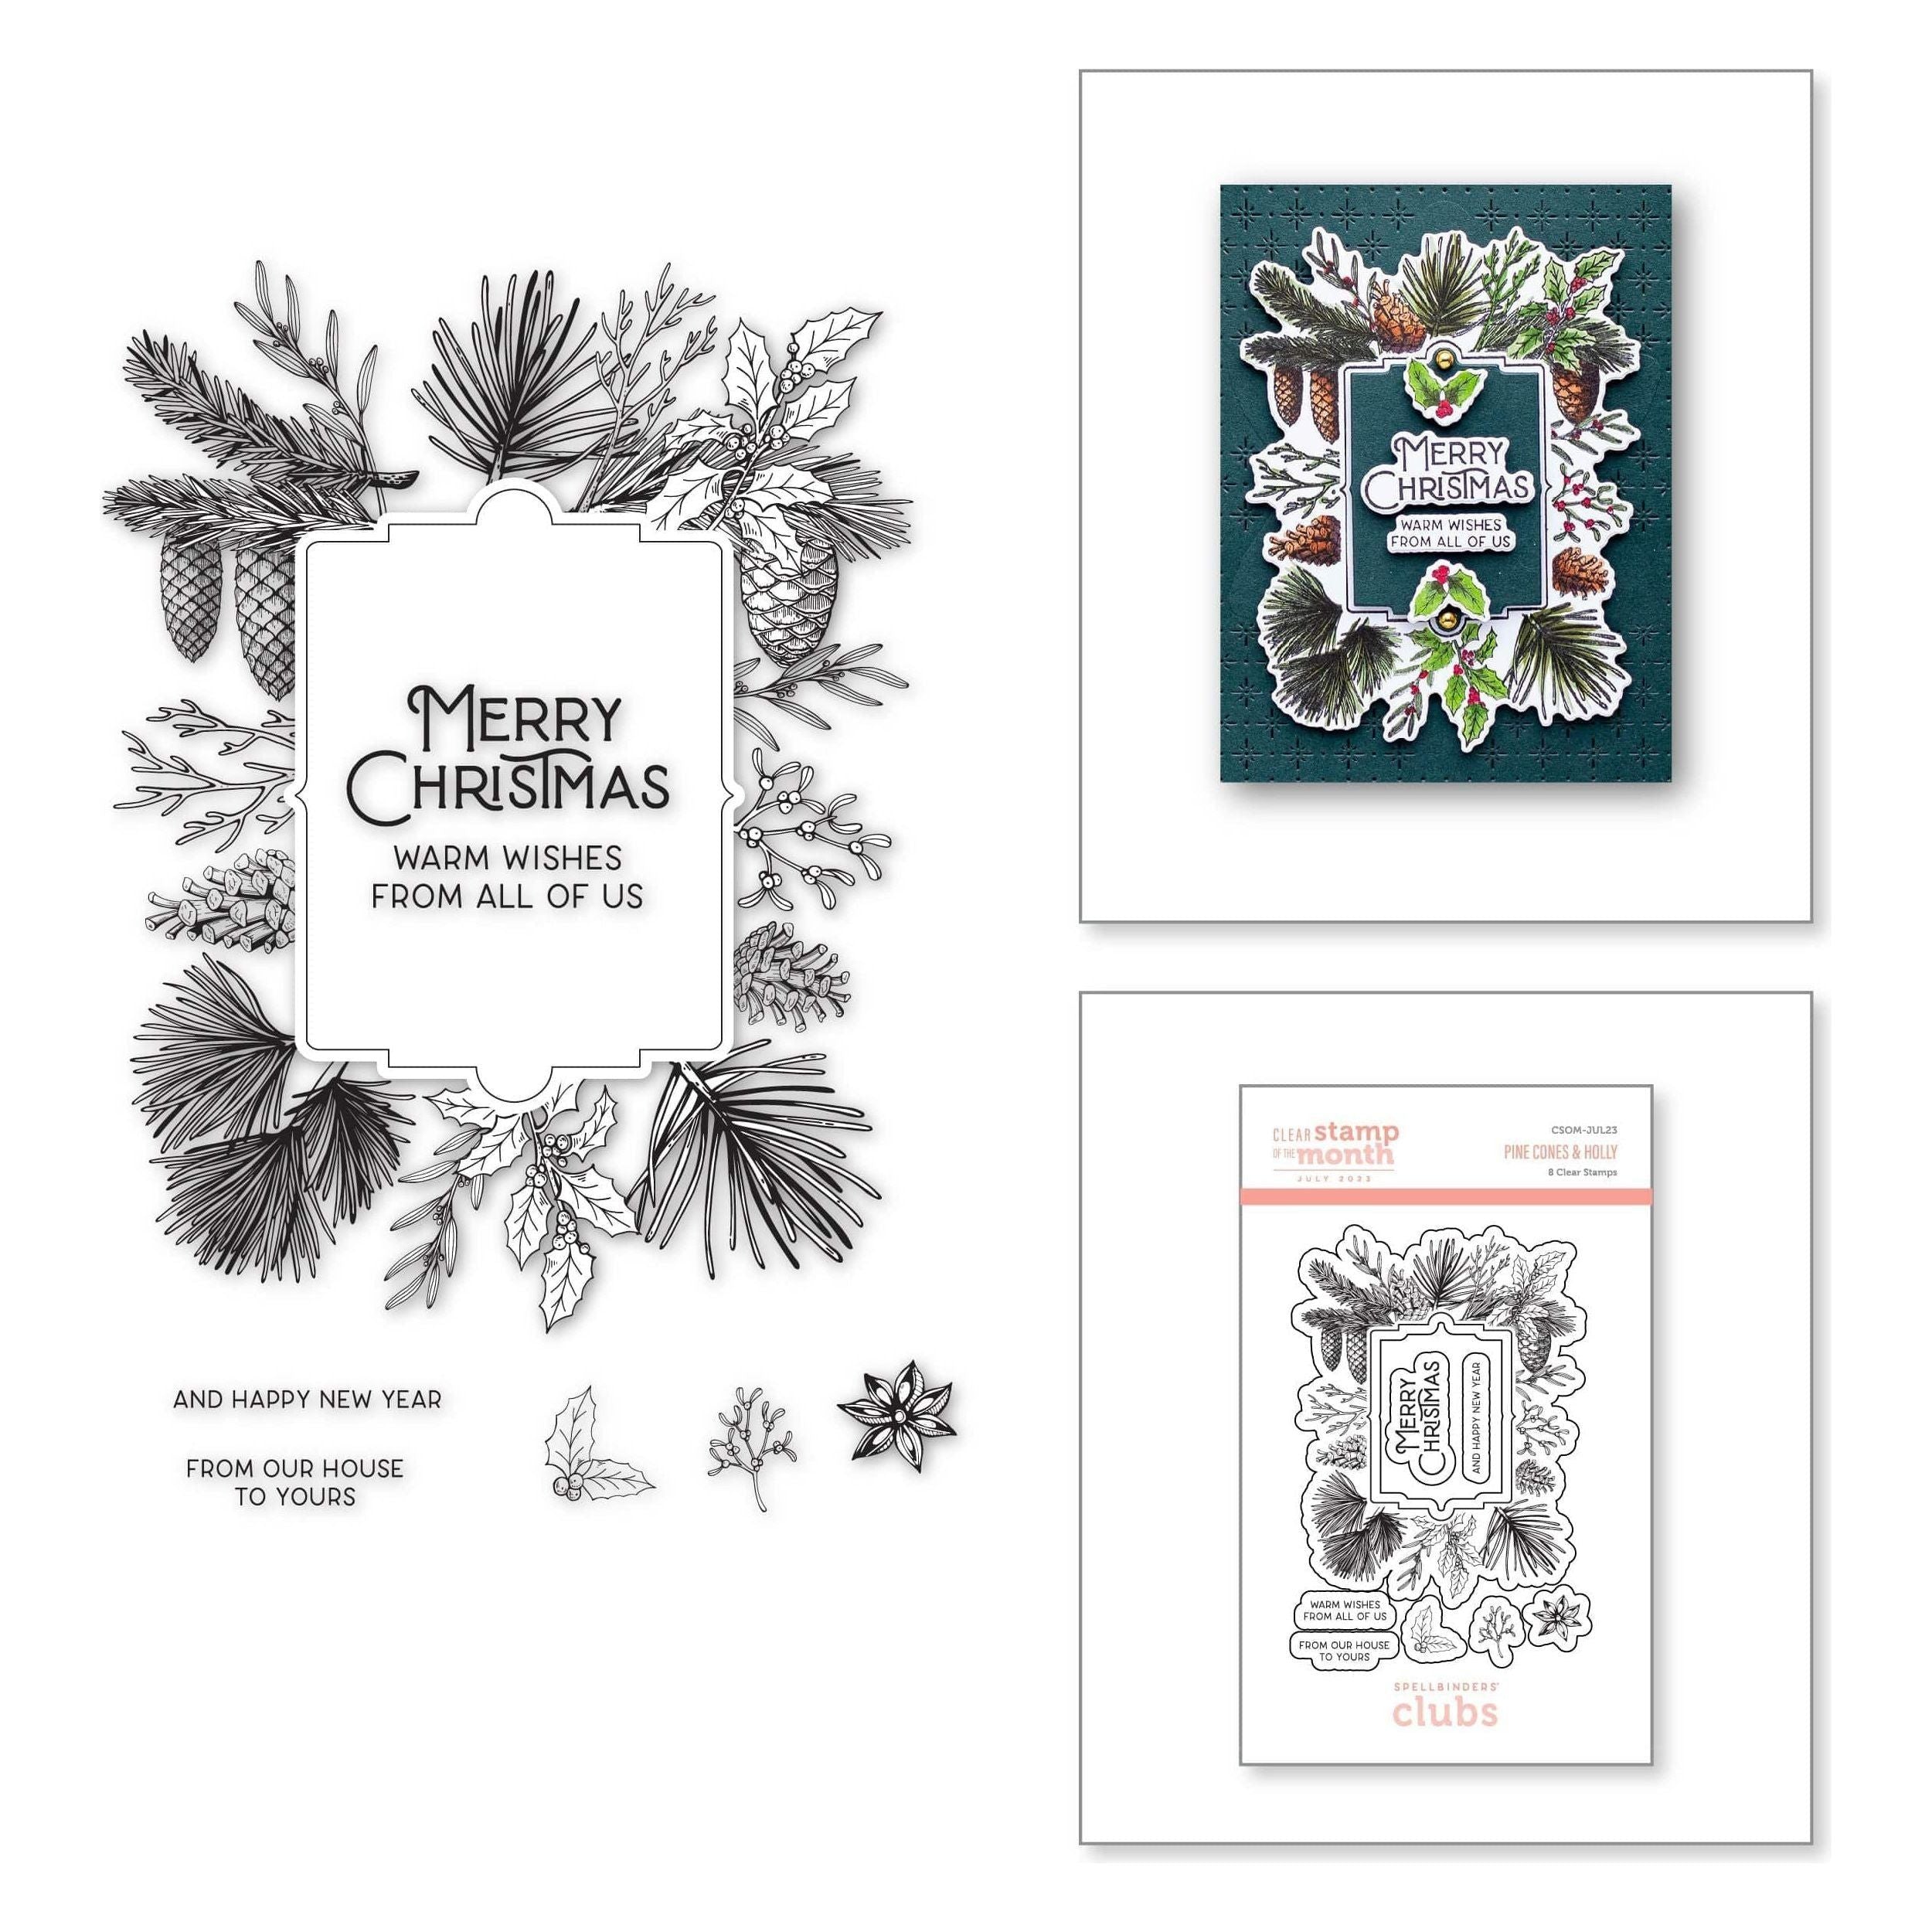
Die cutting and gluing again but I did stamp the tailgate of the pick up with the Merry Christmas from July’s Clear Stamp and Die set of the month.  I’ll link it up at the bottom of my post.

Such a cute Santa and very easy to put together with lines that tell you where things go!

I cut a piece of gray cardstock for the concrete and used a Copic Sketch Marker to color in the tire tracks.

The white panel the scene is built on is 5 ½ in. x 5 ½ in. Then I matted with black cardstock and then on to a 6×6 square cardbase.

I used glossy black cardstock to die cut the truck and silver foil cardstock to die cut the bumper, tail lights and mirrors.

On second thought, I think he’s in a parade! lol

Hope you enjoyed another whimsical Christmas card!

Thank you for stopping by my blog! We need our cardmaking therapy more than ever right now.

Talk to you again soon!

P.S.  I don’t know what happened for commenting but something has changed.  It looks like if you choose the envelope icon and just type in your name it will let you comment.  Sorry, I hate it when they change things. (supposedly making it easier, ha, for who?)  I can’t reply with a thank you if I don’t see an email or name though. boo.

Small Die of the Month Membership –…
[ SPL ]
Truckin Through the Seasons | Large…
[ SPL ]
Big Jolly Santa Sentiments Clear…
[ SPL ]
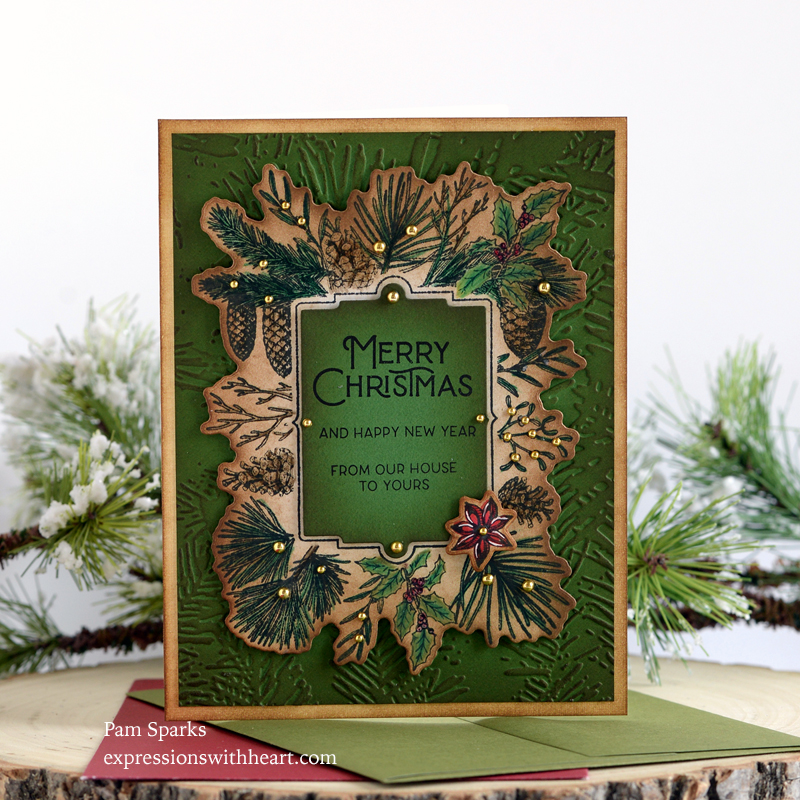
Pine Cones & Holly – Clear Stamp of…
[ SPL ]
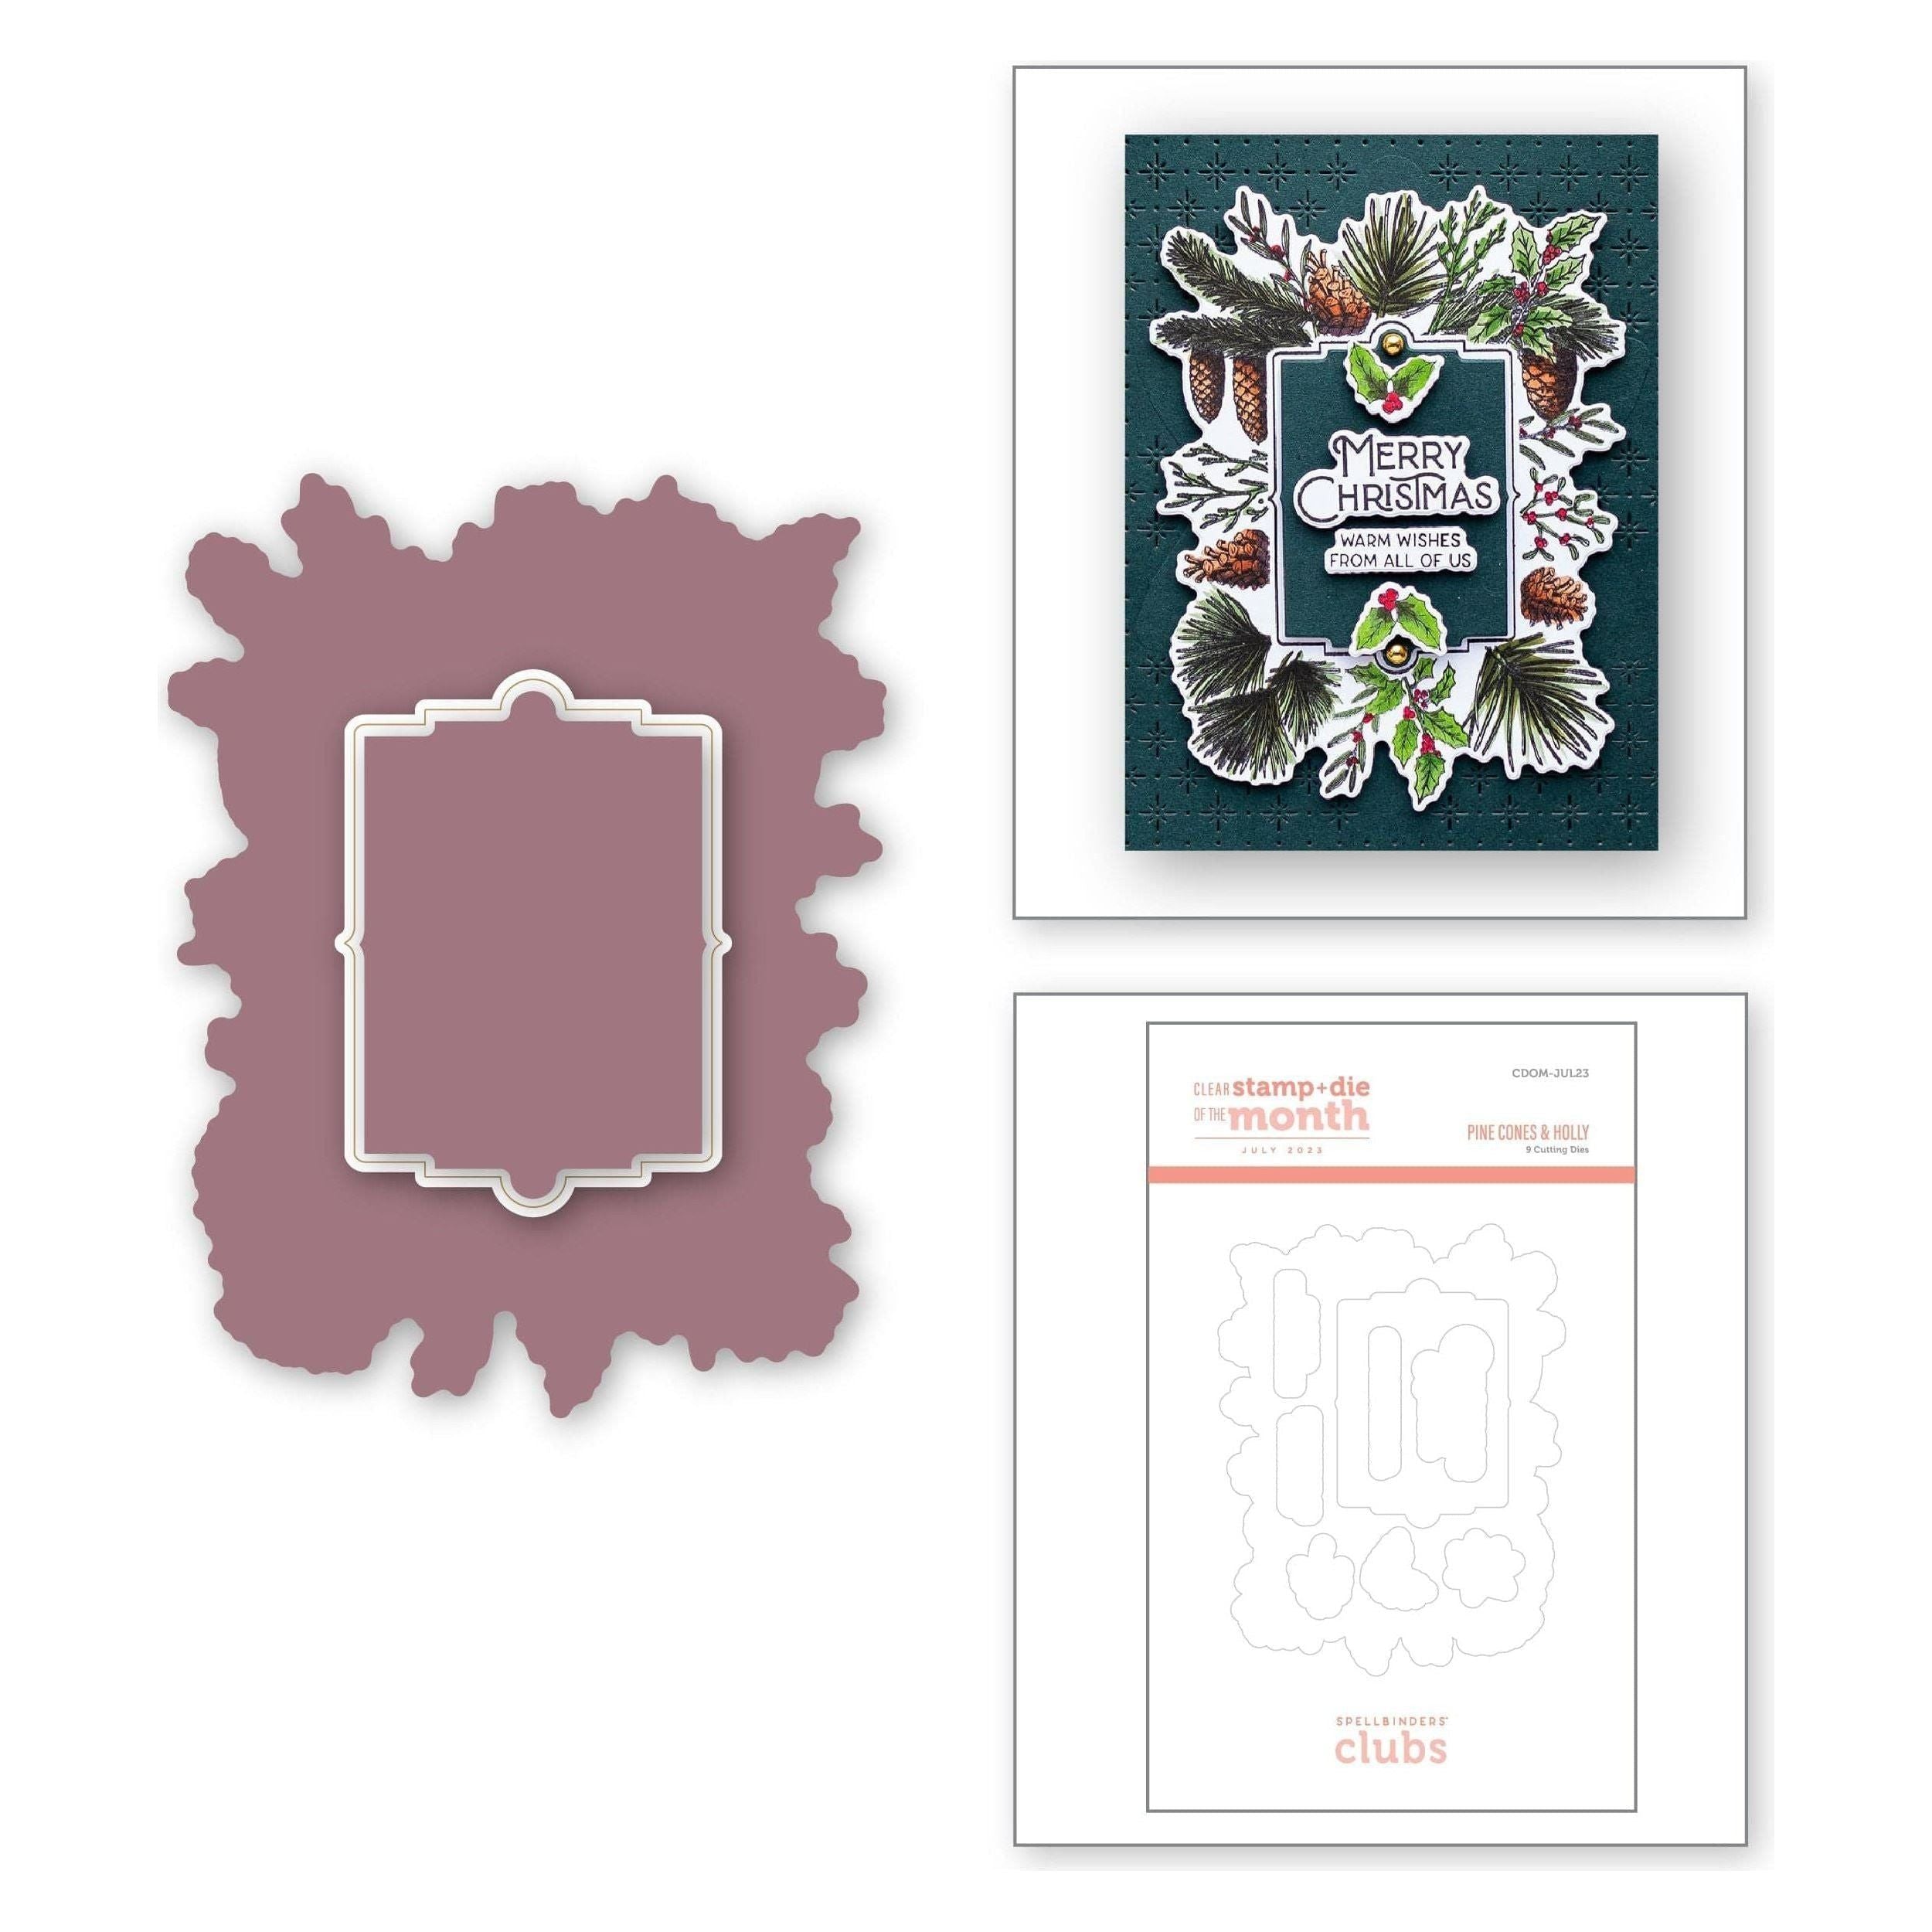
Pine Cones & Holly Die Set – (Dies…
[ SPL ]
New & Improved Platinum SIX Machine…
[ SPL | SSS ]
Cardstock, Paper, & Envelopes |…
[ SPL ]
Tombow Mono Multi Liquid Glue
[ STR | SSS | SBC ]
Scrapbook Adhesives Crafty Foam Tape…
[ STR ]

cards · Christmas · copics · Die Piecing · Easel · Memory Box · Oxide Inks · Poppystamps · Snowman · Winter

poppystamps Sweet Nordic Snowman Snowglobe Easel Card…

Hi everyone!  I had fun making this cute, easy easel snowglobe card. Click/tap on the bottom right corner to size it to your device.

Partial diecut a circle in a regular A2 size cardbase and you’re ready to add the snowglobe!

I die cut the images, NEW Sweet Nordic Snowman and NEW Lavish Merry Christmas,  in white cardstock and colored with Copic Sketch markers.

A little Tumbled Glass Oxide ink in the sky and a few little snowflakes from the NEW Shining Star stamp set stamped in the same ink except I stamped off first before stamping them on the card.

The NEW Simple Rings circle frame is cut from Memory Box woodgrain cardstock and the NEW Snowglobe Base is cut from old Bazzill cardstock.

Here’s a bunch of pictures.  So cute!

Peace on Earth is from the NEW Christmas Banners stamp set.  Dies for cutting them out too!

It will lay flat or stand like a regular A2 size card also.

I hope this cutie made you smile!  She was easy to put together and I love this treeline background die!  It’s part of the NEW Whittle Field and Trees!  Super neat die set!

Have a great weekend!  I’m hoping to get some apples processed and bread made and cards made and and and! haha

Here’s the products I used to make this cute card!

Poppystamps – 2576 Sweet Nordic…
[ STR | SSS ]
Poppystamps – 2577 Whittle Field and…
[ STR | SSS ]
Poppystamps – 2575 Simple Rings craft…
[ STR | SSS ]
Poppystamps – 2578 Snowglobe Bases…
[ STR | SSS ]
Poppystamps – 2590 Lavish Merry…
[ STR | SSS ]
Poppystamps – CB513 Christmas Banners…
[ STR ]
Memory Box – CL5285 Shining Star…
[ STR | SSS ]
Tombow Mono Multi Liquid Glue
[ STR | SSS | SBC ]
Memory Box – 30087 Circle Basics Set…
[ STR | SSS ]