Birthday · cards · Distress Ink coloring · Memory Box · Spring

Memory Box Antilles Floral dies…

Hi everyone!  I’m back to share a card I made in November!  Hoping I can tell the details right!  I really liked how it turned out.

The background I made with a Memory Box stencil. I inked directly on the stencil with Distress Ink Mini stamp pads, then spritzed with water, placed it on watercolor paper and soaked up the color coming through the holes with a paper towel. I think any colors would be pretty with this technique.  I need to do it again!

I can’t remember if I let it dry or dried it with a heat tool though.  I would think either would be fine. I used the piece I trimmed off to die cut the sentiment die.

I die cut the three Antilles Floral dies in white and adhered them with mounting squares.

I glued the sentiment to a strip of vellum and wrapped the strip over the background layer, gluing the ends behind.

Mounted to a square white card-base.

Linking to some challenges…

City Crafter – In Bloom

Simon Says Stamp Wednesday – anything goes

Simon Says Stamp – National Crafting Month

Watercooler Wednesday – anything goes  – thank you ladies for choosing my card as the winner! You made my day!

New Winner Badge.jpg

Seize the Birthday – birthday with optional vellum

Linky badge.png

Thanks for clicking over to my blog today! Hoping to get some more card pictures taken today.  I have pictures but I’ve decided at the moment I like them better taken in a different location of the house! lol  CRAZEE! lol

Happy stamping!

Shopping links to the products I used for this card…

cards · CAS · Die Piecing · Distress Ink coloring · Easter · Memory Box · Spring

Memory Box Spring and Easter cards…

Hi cardmakers and friends! Some Memory Box dies and Distress Ink Smooshing on my first card today. Have you done this technique yet? I’m sure I’ve described it on other posts and if you google, lots will come up.  It is so fun!  I used Picked Raspberry, Cracked Pistachio and Wilted Violet on  watercolor paper.

I die cut the egg a couple times and glued it together with Tombow Mono Multi glue.  The sentiment is just one layer glued carefully to a piece of vellum. I used the Rectangle Basics die set for the layers.

I know the Nuvo drops are really fun but I still tend to reach for the Doodlebug Sprinkles/enamel dots.  I love the colors and sizes.  I’ll link to everything below.

Linking my card up to challenges…

Simon Says Stamp Wednesday Challenge – use more than one die

CAS Watercolor Card Challenge – Spring

Uniko Challenge – Spring with optional Easter

MarchApril17.jpg

Simon Says Stamp Monday Challenge – Layer it up

Next card…

I die cut the Gift Basket die from a kraft notecard and ran it back through the Big Shot with the tan mat and shims to get the embossed effect.  While it’s still in the die, turn it over and ink it through the holes in the die with Gathered Twigs Distress ink and the ink blending tool!  Adds so much to a simple card.

The Petite Flower Bunch die fits perfectly in the basket. I used white Nuvo drops for the flower centers.

The light is weird on this photo but I liked it for some reason. lol  A sweet card IRL.  One to use for any occasion.

Linking my card up to challenges…

Simon Says Stamp Wednesday Challenge – use more than one die


It’s been so fun to have you following me with this rash of blog posts! hehe  I promise I won’t always post like this! (I’m not done yet. lol)   I appreciate your view and comments so much and love to visit your blogs too!  Be sure to show me what you’re up to!  I love looking!  I call it research and development… hehe…it inspires my card making too!

Take care and have a wonderful rest of the day!

Links to what I used to make these two cards…

cards · CAS · Distress Ink coloring · Easter · Poppystamps · Spring

poppystamps Floral Stem, Tulisa and Ring Collage dies and Happy Easter Egg die…

Hi everyone…a big pop of color to brighten your day right off the bat! Two cards today.

I loved Shari’s video HERE. I just had to try her technique!

Coloring with Distress inks on Tim Holtz watercolor paper. The Rectangle Basics die set for the layer…

Emboss the Ring Collage die with your die cutting machine…

Add some super cute matte Doodlebug Sprinkles…link below.

Cindy from Starlitstudio gave me this tip and I love using it. You know how it is with adhesives…it takes a half a dozen to make a card! lol I have different mounting options for different reasons.  On a narrow frame like this, I love using Cindy’s mounting technique.

Take a piece of craft foam and put scor-tape on both sides. Then you can cut strips whatever size you need!  First I cut them ahead but now, I just cut strips with a scissors in the moment to what size I need right then.  Love it!

Cindy has White craft foam 3mm HERE, Black craft foam 3mm HERE and Scor-tape HERE. I use the 2 ½ inch size for this.  I love scor-tape, well right after Tombow Mono Multi and ATG. lol  Oh and 3L mounting squares.  See…takes a lot of adhesives! lol  You can also use the 2mm fun foam from the chain stores.

Linking my Floral Stem card to challenges…

Simon Says Stamp Monday Challenge – Layer It UP

CAS Watercolor Card Challenge – Spring

Outstanding Design.jpg

The Card Concept – Rich Texture (Clean and Layered)

Honorable Mentions

Happy Little Stampers Watercolor Challenge – Anything Goes

The Flower Challenge – Anything Goes

Tuesday Throwdown Challenge – Add Dimension

Next card…more Distress Ink coloring..

Here I die cut the Tulisa Collage die in a white card-stock panel that I die cut with the Rectangle Basics die.  I love that the largest rectangle in this set is A2 size! This panel is mounted to the card base with mounting foam strips.

I die cut the Happy Easter Egg die and the grass die from white card-stock. I like to leave or put the die cut back in the waste to do the coloring/inking.  Helps it stay in shape and prevents bending too. I inked the words and the grass with Distress inks and the mini ink blending tools.

I glued the sentiment, grass and a few clean sequins to the card front with Tombow Mono Multi glue.

Linking to some challenges…

Scrapy Land Challenge – Favorite Holiday (poppystamps)

Word Art Wednesday Challenge – Anything Goes

Happy Little Stampers March Die Challenge – Anything Goes with Dies

AAA Cards Challenge – CAS Game #86 Diecuts

It’s Spring my cards proclaim! Nice one day, dreary the next! lol Glad for cheery cards!

Thanks for stopping by today.  Holler if you have any questions!

Here’s what I used to make these cards…

cards · CAS · Die Piecing · Poppystamps · Spring

poppystamps Dogwood Frames and more…

Happy first day of Spring to you! It’s been lovely here in Iowa… well if you ignore the stormy and cold days! lol

My first card today is really fun, simple, whimsical and graphic in a very CAS kind of way! I actually got my Tiny Attacher to cooperate and work right! yay! Usually it smashes out all kooky and flat. I guess the trick is only going through one layer! hehe

Linking to some challenges…

Simon Says Stamp Monday Challenge – Layer it up

Happy Little Stampers March Die challenge – Anything Goes with Dies

Time Out Challenges – CASE

AAA Cards Challenge – Diecuts


2nd card … bring in some color!

Thank you, don’t mind if I do!  I like pink and green with kraft too! lol  White lines drawn in with a signo gel pen…happy with it!

Linking to some challenges…

The Flower Challenge – Anything Goes


Simon Says Stamp Wednesday Challenge – Bit O’ Green


Links below to the products I used…

Thanks so much for stopping by and one of these days I won’t have so much to post! ‘preciate you looking and your comments so much!

cards · Distress Ink coloring · Easter · Memory Box · Spring

Memory Box Easter Eggstravaganza Frame, Springtime Floral Egg, Happy Easter Journal Script, Hippity Hoppity, Bunny Silhouette and Delphinium Circle Dies…

Hello card makers and friends! Maybe I should’ve saved this one for Easter Sunday! Maybe I’ll take a blogging break that day! hehe

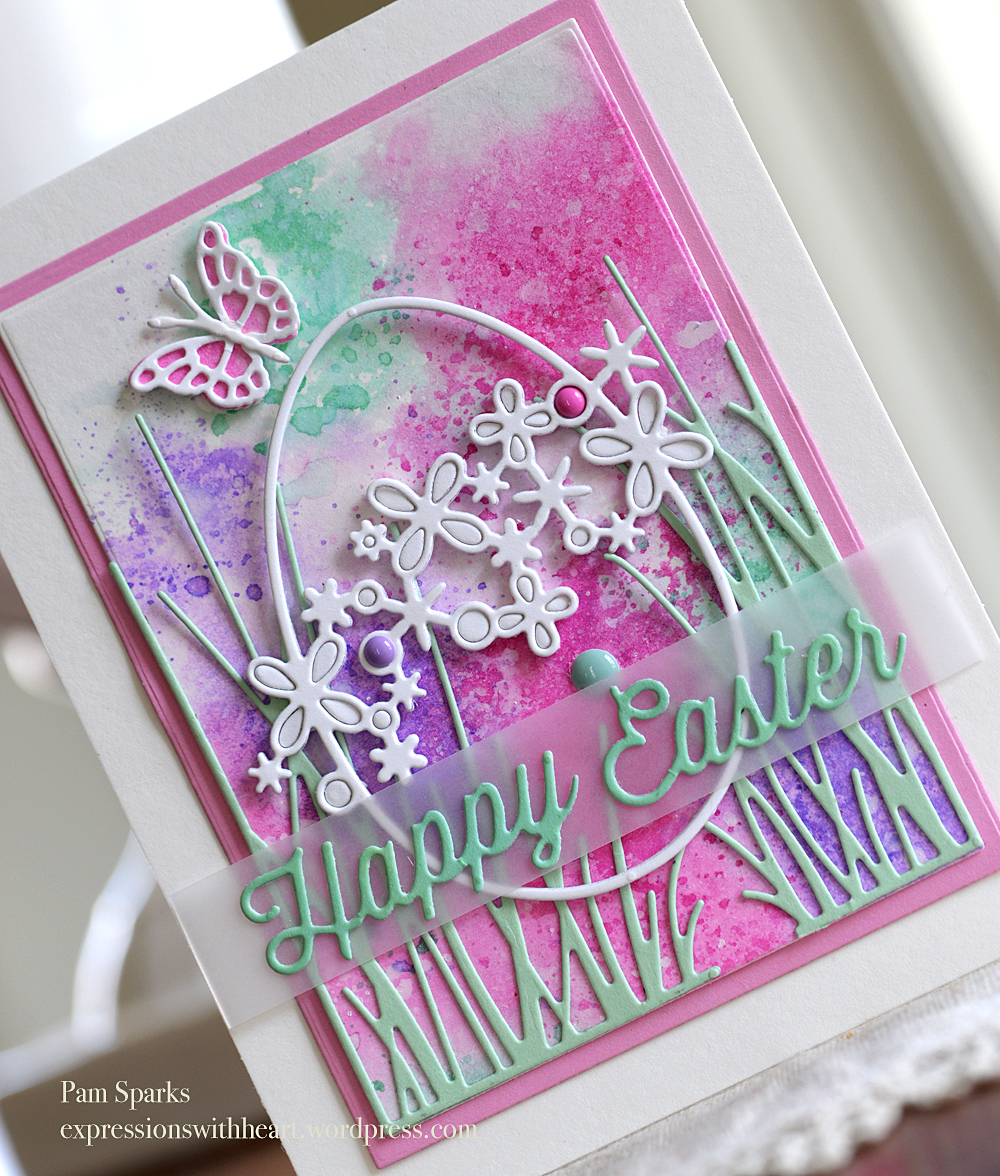
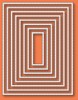
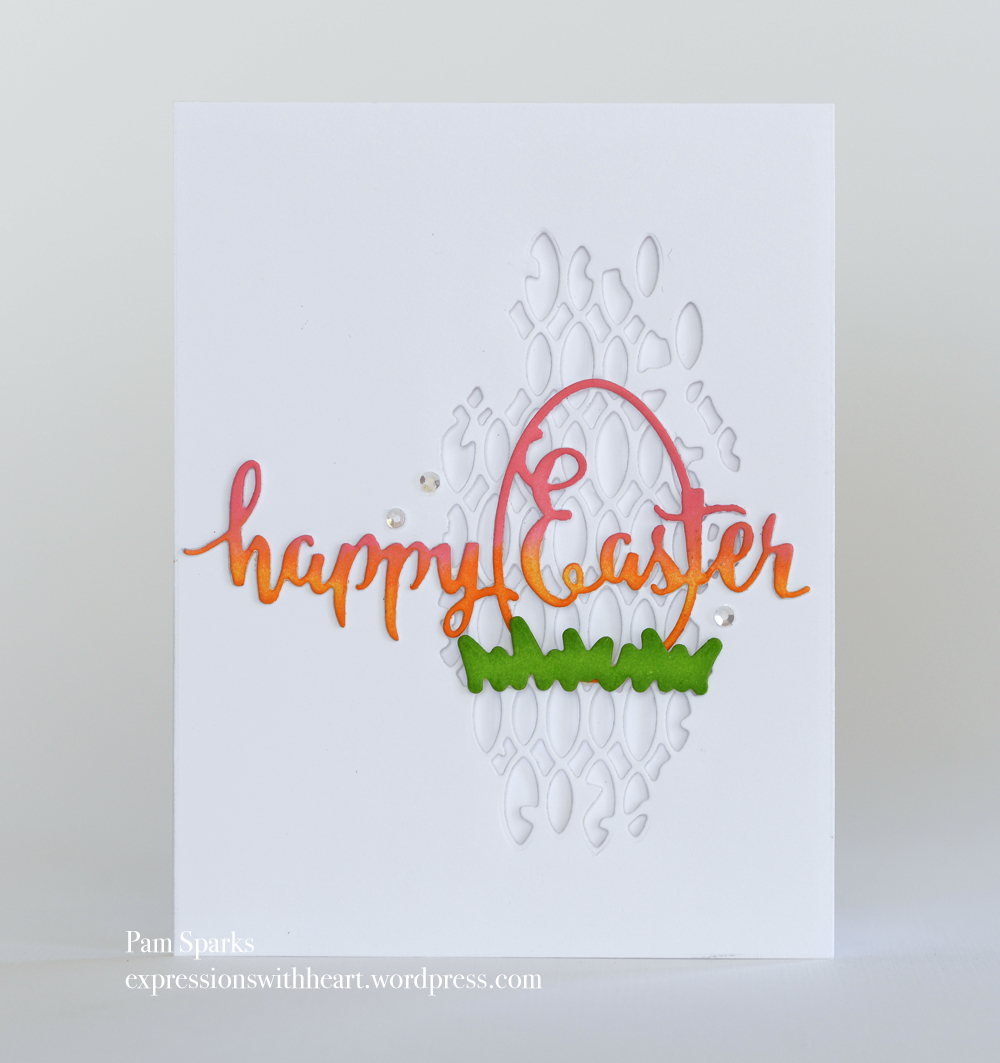
Another ink blended background using Distress inks on Mixed Media card-stock.  I really like using this stock because it blends so easy and is very forgiving…any marks blend out and the colors move together so well. My arm gets tired, so easier and faster is good! A few water drops is all…kept this pretty simple.

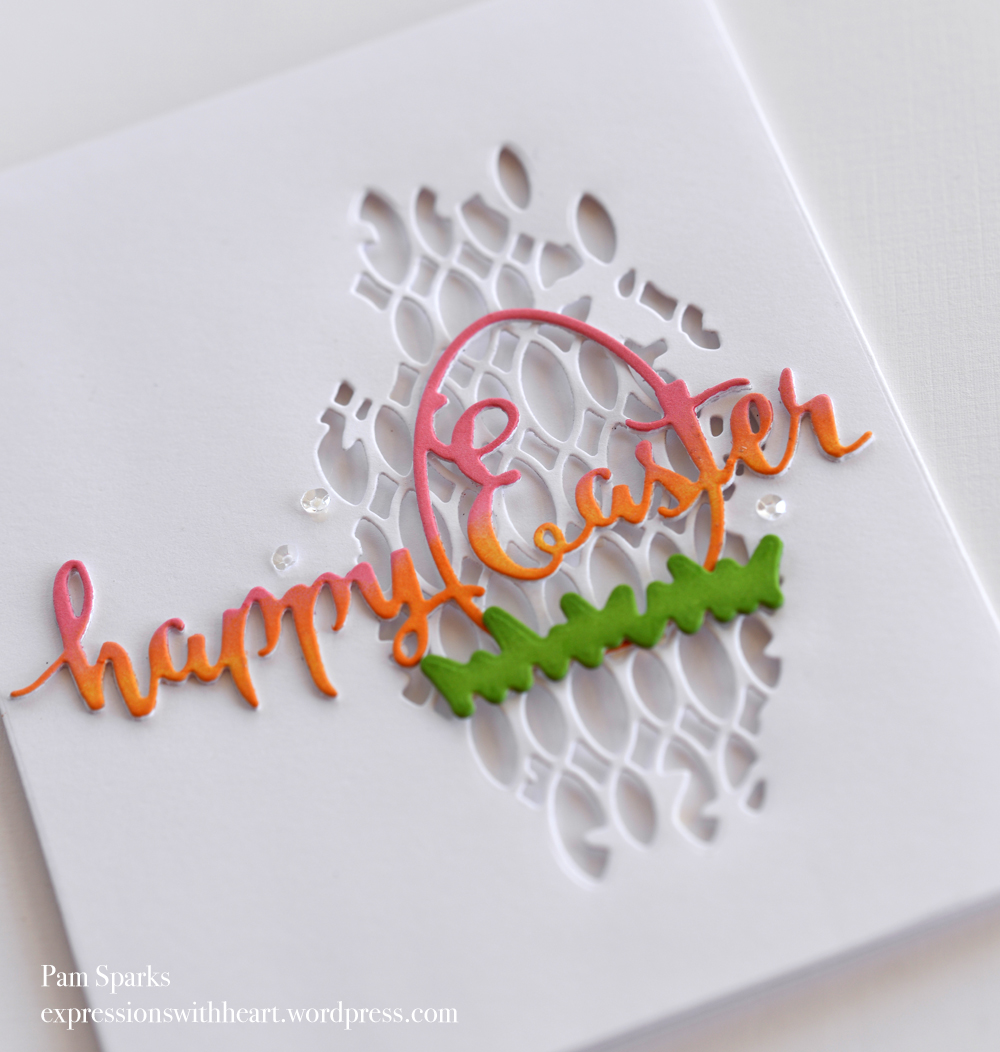
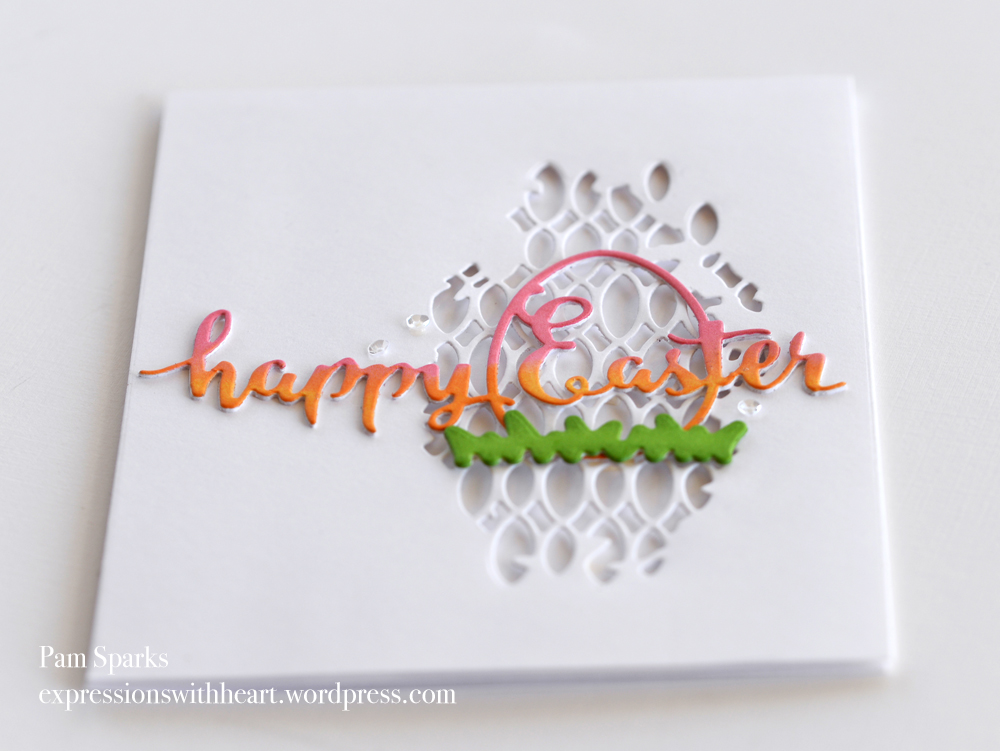
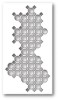
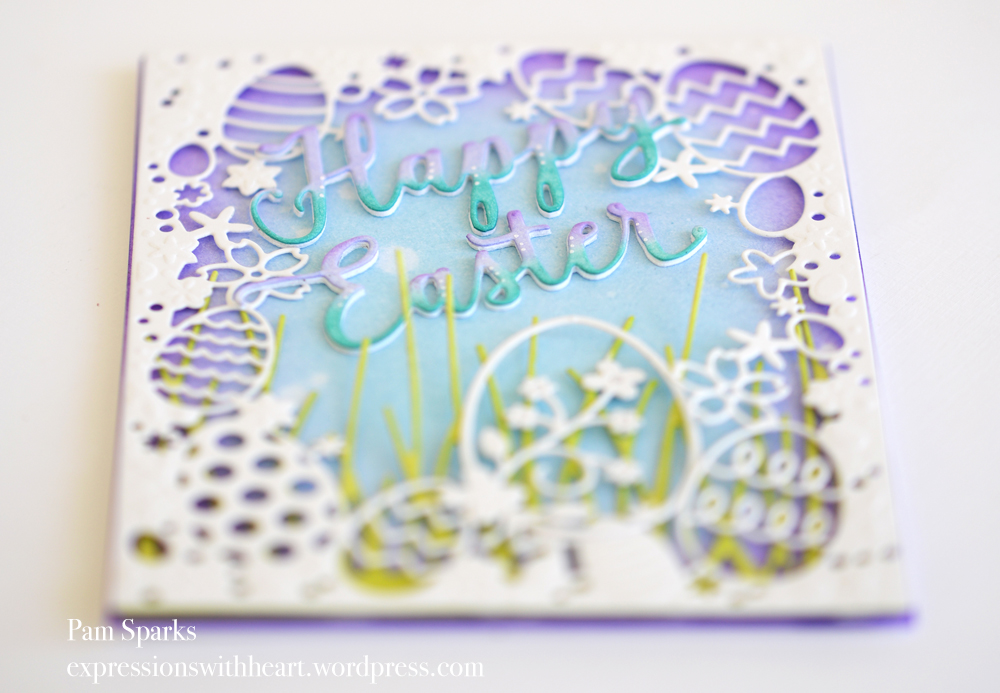
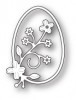
I die cut the Easter Eggstravaganza Frame in white card-stock and ran it back through the Big Shot using the Multi-Purpose platform on Tab 2, the tan mat and  5 pieces of 65# card-stock for extra shimming. That gets the detail embossed nicely.  If it doesn’t emboss as deep as I want, I turn it to the back side and using an embossing stylus I rub in the spots that are meant to emboss. Bummer I didn’t get better pictures of the embossing but I think you know what I mean.

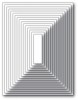
I love this long bladed grass die though… I don’t have the solid egg dies that fit behind but I think I would’ve liked them too.  I’ll put them in the link up below in case you’d want a solid layer behind your decorative eggs.

This picture shows I die cut 3 of the Happy Easter sentiment.  I added a few dots of white gel pen too.

I inked the top Happy Easter before I glued them together.  I left it in the negative cut while I was inking to keep it from bending out of shape.  You could ink your card-stock and then die cut too.

Any Easter-y Distress ink colors will work!

Linking to challenges…

Addicted to Stamps and more… Holiday

Scrapy Land Challenge….Favorite Holiday (Memory Box)

Next card…

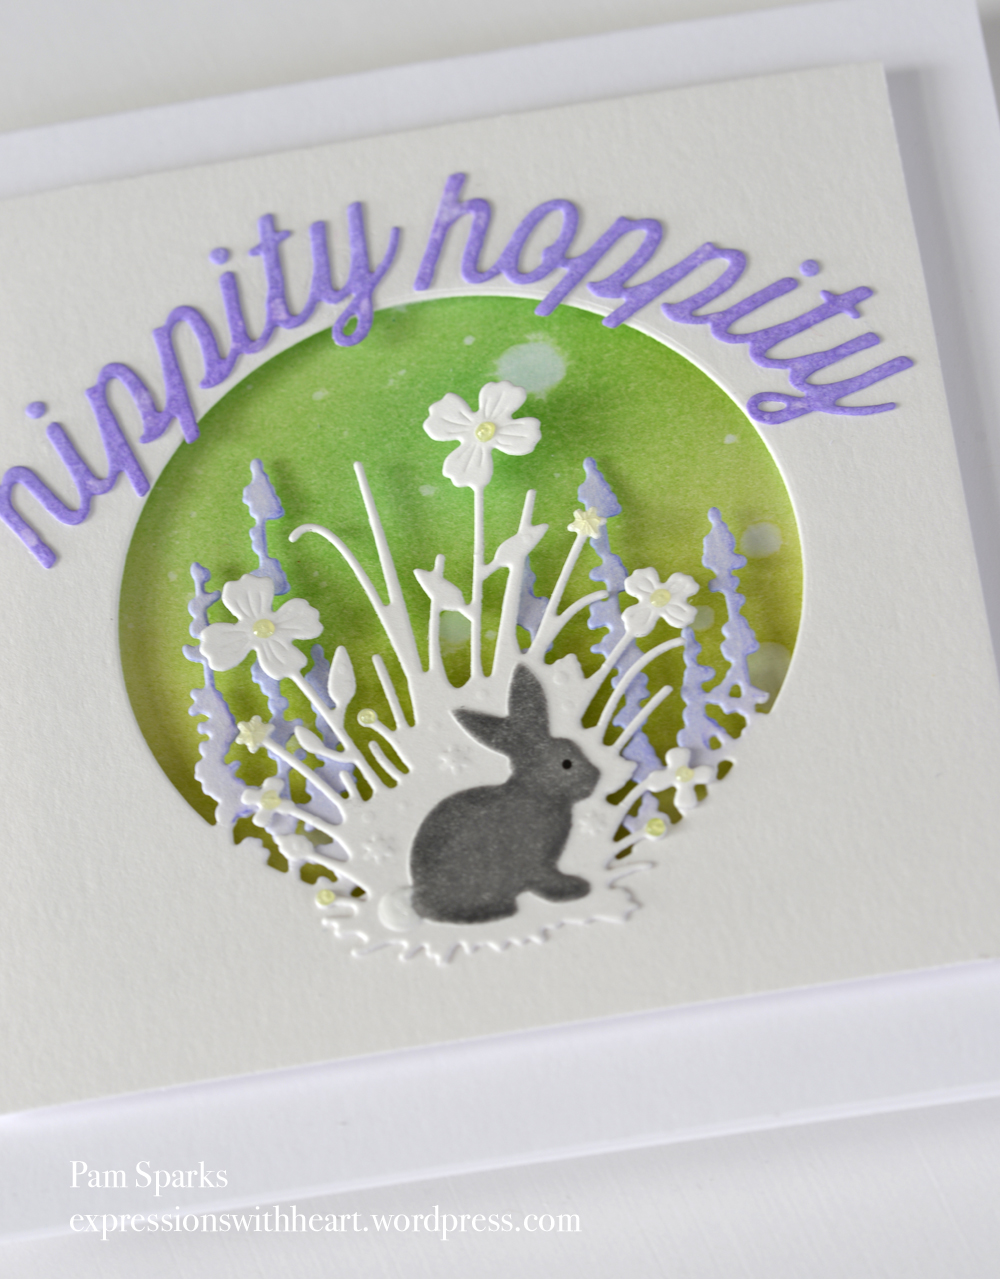
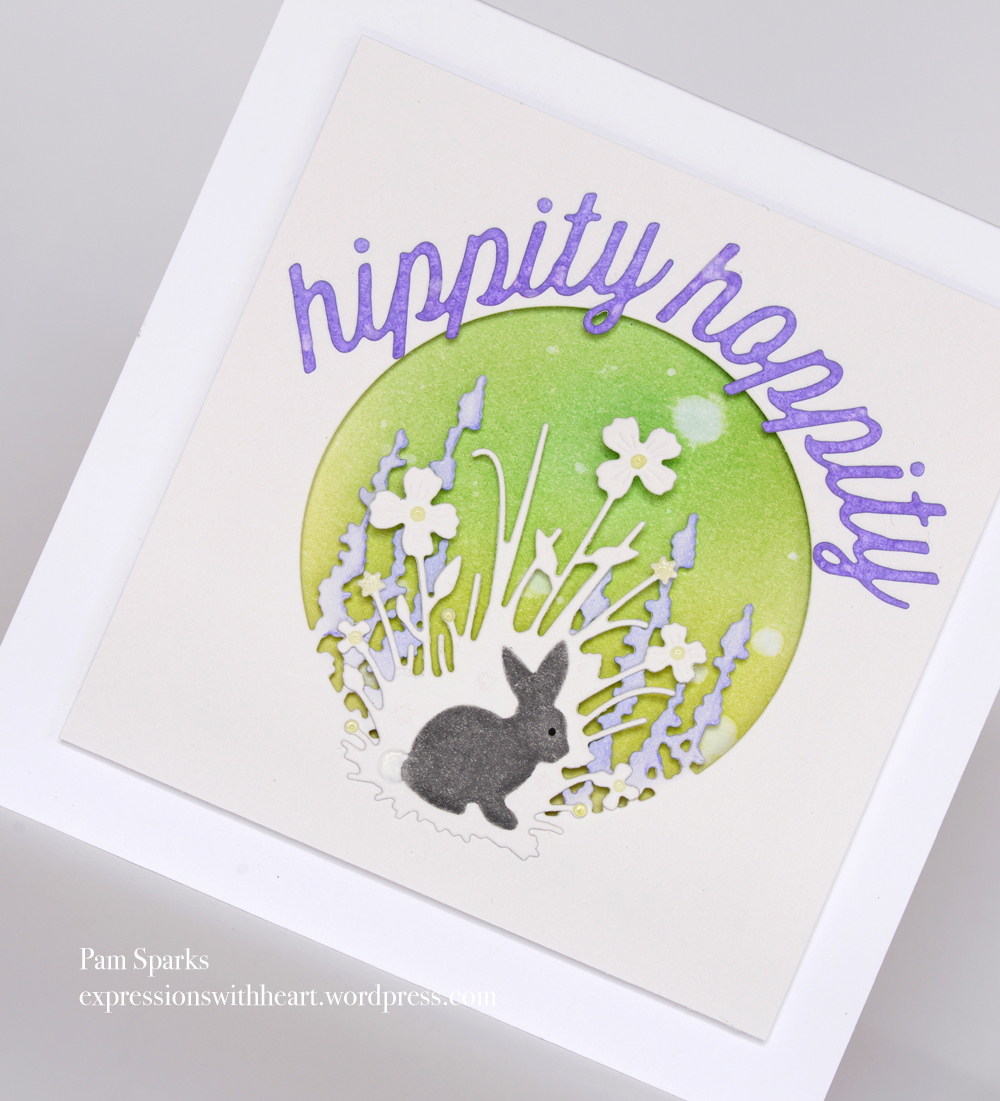
This is my second make of this card.  The first one I glued the words on hoppity hippity!  Go Pam! lol  Funny thing is, I didn’t even notice it for a couple weeks! That’s scary! lol

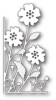
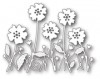
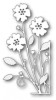
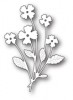
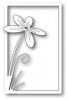
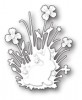
I die cut the Delphinium Circle in Mixed Media paper and likely inked it with Wild Violet I think. Then I die cut it with the new Square Basics dies. I inked a piece to go behind the circle too…again with Distress ink and the ink blending tools.

Hippity Hoppity was die cut from MM card-stock and inked with Wild Violet Distress ink too.  I dropped water droplets on it to get that distressed look. Really nice size sentiments…easy to glue on with my favorite Tombow Mono Multi glue.

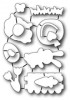
I die cut and embossed the Bunny Silhouette die, left it in the die, turned it over and inked it with Hickory Smoke Distress ink and an ink blending tool being careful to not get any on it’s tail.

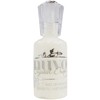
I added dots to the flowers with Nuvo Drops.

I mounted it with foam tape…love that stuff, don’t you? I did add an eye to the bunny with a black pen.  Which reminds me I need to order some more! hehe

Linking up to challenges…

CASology Challenge – Foliage

Holler if you have any questions…I usually forget something! lol

Thanks so much for stopping by and have a beautiful Sunday!

Below are links to stores with the products I used for my cards today…