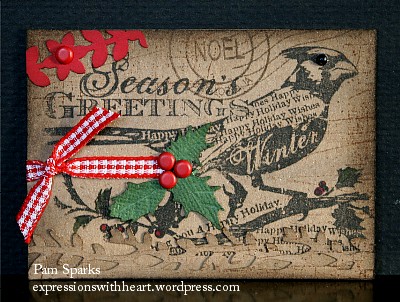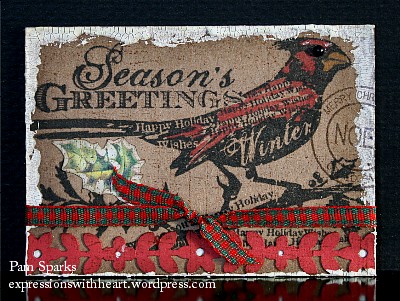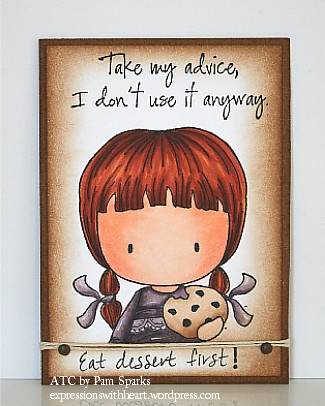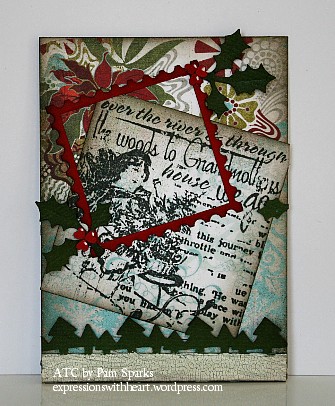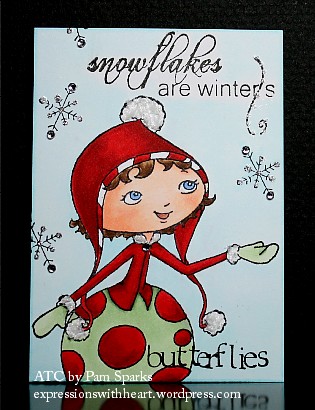
Today the All That Scraps Design Team is previewing the NEW Sweet November images, drawn by Amy Young, as part of CC Designs November release. This is Darby… she’s a heart melter and a snowflake/Winter lover!!! I created an ATC, Artist Trading Card, a small little palette to really focus on Darby in her Winter wonderland. An ATC is 2.5 x 3.5 inches in size, my photo should be the exact size here…fun to add to the ATC collection. I wish you could all stop in and see my ATC collection! I’ve been trading since July of 2005 and I have the grandest cards from all over the world! So fun, I don’t get near as much trading done since I started coloring again though… seems you can’t do everything! boo! I’m heading to an “in person” swap Sat.a.m. and need some atc’s to swap, so I’m coloring ATC’s this week! If you’re anywhere near Des Moines, Iowa Sat. a.m., Join us!!!
Darby comes with an accessory stamp, a bird named “Pudge”! Cute! Darby and her friend Penelope will be available to purchase in rubber and as a digital image on November 1st. HERE
Check out all the awesome creations by the Design Team, HERE. Link up for a chance to win Darby and Penelope!
Darby is inked with Memento Tuxedo Black ink on Paper Trey Ink card-stock and colored with Copic Sketch Markers. Skin – E000, 00, 01, 21, Hair – E30, 31, 57, 59, Eyes – B21, 23, Reds – R24, E07, Greens – G40, G85, Background – BG0000, 000, 01.
The sentiment is from Amy R’s Holiday Greetings set, HERE.
I used Hero Arts smallest crystal gems on the flakes and at her neckline. The pompoms and cuffs have flower soft white and lace frost stickles on them. The snowflakes have lace frost stickles on them.
I’m linking my Darby ATC to the Creative Belli challenge blog – use flocking or flower soft! I used the polar white flower soft on Darby.
Monday I posted an enabler alert HERE… looks like the sale might still be going on! If you “need” anything….hehe… hurry over from my links and save!
Thanks everyone!